
To improve your street photography after the first year, change the input, not the volume. Study one master for a month and cull hard, because more random walks mostly give you more of the same pictures.
A street photographer on Reddit put the feeling well: "I feel I'm not improving or, if I am, it's so damn slow that I can't really see the results of it." I've been there more than once. I'm Olivier Duong, and these are the fixes that got me moving again, most of them learned the slow way.
Why good street photography gets harder after the first year
Year one is easy progress. You learn your camera settings: a fast shutter speed, auto-ISO, an aperture that gives you enough depth of field. Your photos get sharp, and you gain a little confidence around people. Every photo walk teaches you something new.
Then the easy gains run out. What's left to learn is seeing: what makes a frame work, why one moment holds attention and another doesn't. You can't get that from shooting more of the same. There's an old line I live by: if you always do what you always did, you will always get what you always got. If nothing changes, nothing changes.
Psychologist Anders Ericsson, who studied expert performance, called the fix deliberate practice: working on a specific weakness with a clear goal, instead of repeating what you already do well. A walk with no goal is repetition. A walk built around one idea is practice.
There's also a gap between taste and skill. The radio host Ira Glass has described how beginners have good taste long before their work matches it, and how that gap is what makes people quit. If your photos disappoint you, your eye is ahead of your hands. That's a good sign.
Why more street photography tips won't fix it
Most street photography tips are useless. Not because they're wrong, but because they're never put into action. Reading about leading lines means nothing until you go out and find them yourself. Head knowledge has to become street knowledge.
The other problem is that most tips answer beginner questions. Which camera to choose for street photography, which focal length, manual mode or autofocus, how to photograph strangers without panic. Those matter in year one. After that, you already know them. Another video about technical settings or another photo walk with the same group won't give you a personal vision.
So the frustration is a signal. You've finished the first set of street photography lessons and need the second set: seeing and editing. Fear still comes and goes, and that's normal (my guide to overcoming fear in street photography covers it), but fear is rarely the real reason for a plateau in the second year.
Are you really stuck? Check your archive first
People are terrible at judging their own progress. We overdramatize. I once told myself "Olivier, you're worthless" so often that I believed I had never made a good picture.
The cure is objective proof. Pull your ten best photos from your first year and your ten best from the last three months, then put them side by side. Most people find they did improve. They take better pictures now and just don't notice it. The progress just moved from technique to subtler things, like cleaner edges and better timing.
Also watch who you compare yourself to. When you look at a master's book, you're looking at a tight selection of a lifetime of work. The famous frames sit on top of thousands of average ones. Comparing your whole camera roll to someone's best 80 pictures is apples and oranges. If you want real numbers on this, read my page on the street photography hit rate.
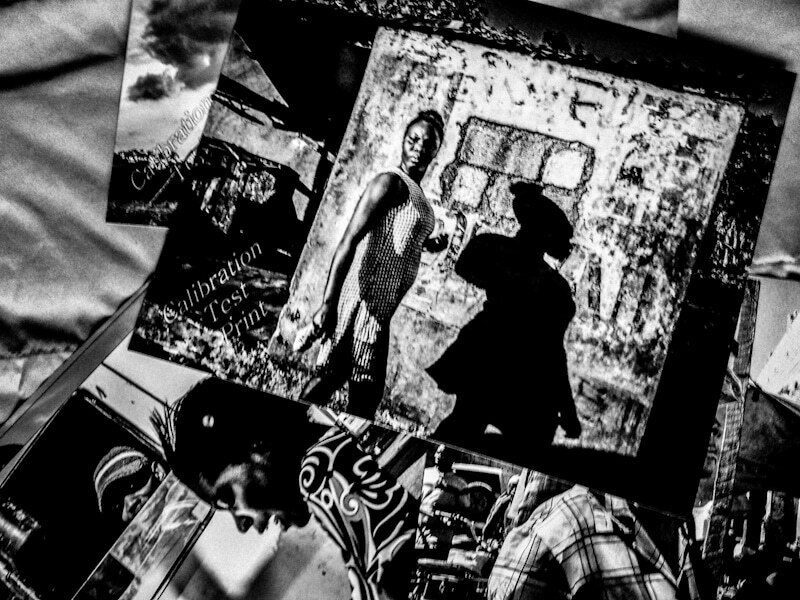
Change the input: study one master for a month
You become what you focus on. If you only look at the same Instagram feed as everyone else, you'll shoot what everyone else shoots.
When I lost my inspiration years ago, my partner Don Springer told me to learn from the past. I went reluctantly and started with Lee Friedlander. It worked. Friedlander made the mundane interesting, with visual puns and his own shadow in the frame. Seeing that changed what I looked for on my own street.
How to do it:
- Pick one photographer. Not five. One. Immerse yourself in the work.
- Get a real book, not a Pinterest board. Look at the pictures in order, because sequence is part of the work.
- Write down what repeats. Where do they stand? What do they include at the edges? Where is the light?
- Go out and shoot one of those ideas on purpose for a week. Then drop it.
A tip from my years editing a photography magazine: when we asked photographers about their inspiration, the same few names covered most answers, with Henri Cartier-Bresson on top. Cartier-Bresson's idea of "the decisive moment" is worth learning, but if we all drink from the same well, we all end up with the same water. Go a little further out. Try Saul Leiter for colour and layers, Fan Ho for light and geometry, Ernst Haas for motion, or browse the list of street photographers for someone you've never heard of.
Even better, look outside photography. W. Eugene Smith said his biggest influences were theatre and music, and you can see stage drama in his "Country Doctor" essay for Life. Friedlander photographed jazz musicians early on, and his pictures improvise like jazz does. Borrowing from another art gives you room to put more of yourself in. Painting works too: Caravaggio's chiaroscuro, strong light against deep dark, has shaped a lot of black-and-white street photography.
Studying the history of the street photography genre also shows you how the great street photographers grew. Joel Meyerowitz has talked about starting out on the street next to Garry Winogrand and learning by watching him work. None of them arrived with a finished style. Experience piled up, one project at a time.
Shoot assignments with limits, not random photo walks
Too many options freeze the brain. Picture a menu with 200 dishes. That's what walking out with a bag of lenses and no plan feels like.
Limits do the opposite. The camera that made me most creative was the cheapest one I owned, with a fixed lens and a small sensor. With fewer choices, my brain went into problem solving mode. Try one of these for a few weeks:
- One lens, one month. No zooming, no swapping. Learn exactly what your frame covers.
- One location. A single block, a station, your own street. You start to predict where the light will fall and when people pass.
- One theme. Loneliness, hands, waiting. Once you name a theme, ideas start showing up.
- One approach. A month of street portraits where you ask first, or a month of purely candid street photography where you never do. Each teaches you something the other can't.
- One time of day. Early morning people act differently from people at night. Shooting only at dusk or only in the dark gives you a different city.
Between assignments, keep your camera on you. A Fuji or a phone, it doesn't matter. Great photos of candid moments often show up on ordinary errands. When you find one, work it from different angles instead of taking one frame and moving on. The next shot is often the better one.
Mix them if you want: one 28mm lens on one street, only at night. When the urban landscape is the same every day, you stop looking at places and start looking at people. My list of street photography ideas and exercises has plenty more.
Master street photography techniques one at a time
Once you have a study subject and a limit, pick one technique and stay with it until it feels natural. Taking photos of everything at once is how you stay average at all of it. Here are street photography techniques worth a month each:
- Good light first. Find interesting light, then wait for someone to walk into it. My guide to light and shadow shows how.
- Layers. Something happening in front of your subject and something behind it. It's slow to learn and it's the fastest way to more interesting photos. See layering.
- Getting close. Photographing people from two metres instead of across the road makes the viewer part of the action. Start with candid photography if strangers make you nervous.
- Street portraits. Asking changes the picture and the conversation. Try it for a month and see what you learn about people.
- Black-and-white photos. Removing colour makes you see shape and tone. Read black and white photography if you want to try it properly.
Get familiar with one before you move on. If you want to learn more about street photography techniques in a set order, that's what a good course is for.
Cull harder, and wait before you judge
Most plateaus are partly an editing problem. You keep showing pictures you're attached to because you remember how it felt to take them. The viewer wasn't there, and doesn't care.
Leonardo da Vinci told painters to look at their work in a mirror, so it would look like another master made it and the faults would jump out. Photographers can do the same:
- Let your photos sit for weeks or months before you pick. I often go months without looking at a memory card.
- In Lightroom, press L to dim everything around the image.
- Flip the photo upside down to judge the composition, not the subject.
- Print small proofs and live with them on a wall for a week.
Be a harsh critic if you're soft on yourself, and a kind one if you're already too hard. The goal is distance, not punishment.
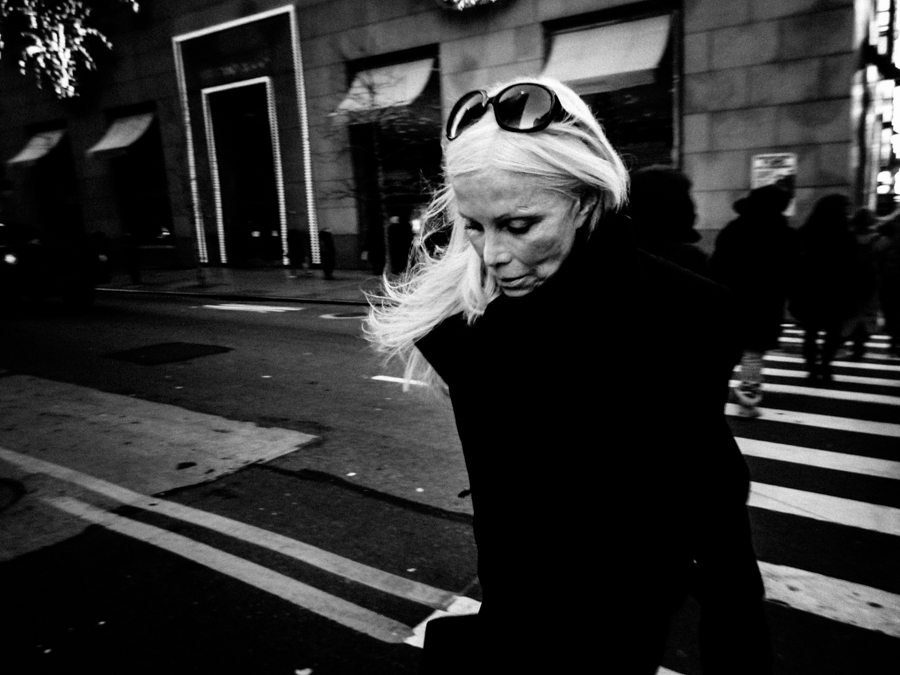
Learn the art of street photography: name what makes a picture work
The hardest thing in street photography to put into words is why a picture works. People say you know it when you see it. That's true for viewers, but a photographer needs more than a feeling. Shooting without a visual vocabulary is like reading a book in a language you don't speak. You can stare at it for years and still not understand why one page is beautiful.
When I started, I read blogs and watched YouTube for a year. My images didn't improve the way I thought they would. What finally helped came from my job as a graphic designer: patterns that make an image work, like the law of proximity, the law of similarity, frame dynamics and mid-point tension. Once you can name a pattern, you start to see it in the street.
Good street photography isn't a busy street corner with people in public walking through it. Plenty of candid photos show that and nothing more. The difference between a snapshot and a great street photograph is composition in street photography terms: where the subject sits, what it touches, what repeats and what breaks the pattern. Documentary photographers like Steve McCurry are known for strong colour and faces. Street photographers lean more on relationships inside the frame. Both are learnable.
Start with the building blocks: composition, layering, juxtaposition and light and shadow. Then ask the hardest question of every frame: what is it about? One Reddit commenter told a stuck photographer that most of his pictures told the same story, "a person walking in the city". That is the most common plateau I see. If it sounds like you, read why your street photos look boring and what makes a good photograph.
Think in projects and sequences, not single frames
Single frames keep you chasing the next lucky shot. Projects give you a direction.
Da Vinci looked for patterns and links everywhere. Do the same with your own catalog. Tag your photos by theme and look at them together. I found I had been shooting a series of surreal images for two years without knowing it. They weren't a few scattered shots. They were a project waiting to be named.
On one Reddit thread about a plateau, the most useful reply was about curation: two or three strong photos with thematic and visual coherence say more than twenty mixed ones. Try building a small photo essay of eight to twelve pictures. Sequencing shows you what's missing, and that tells you what to shoot next.
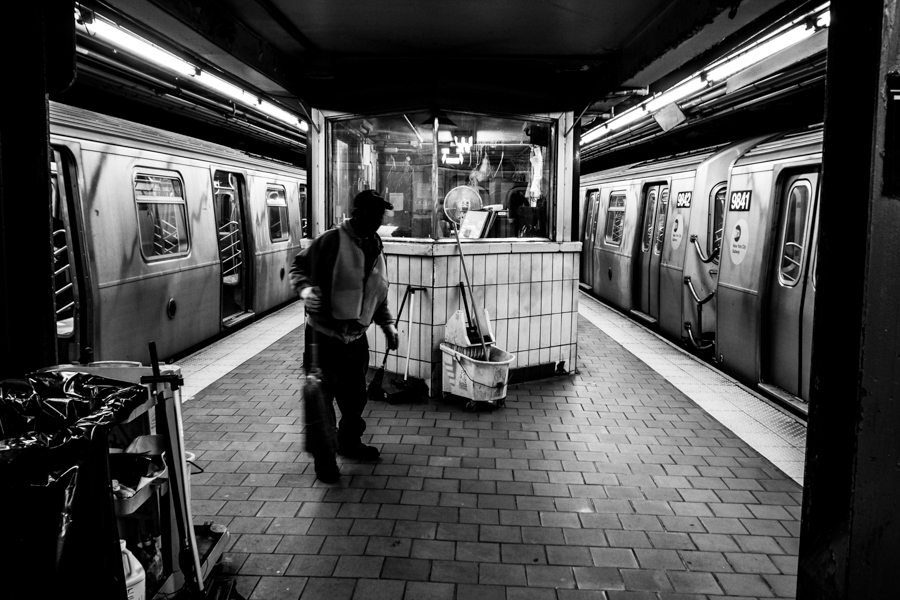
Get closer to what you actually care about
My biggest mistake was shooting what I thought photography should look like, not what it meant to me. My pictures were well composed and sterile. I photographed flowers and buildings while my wife asked me to photograph her. When I lost my mother in the Haiti earthquake, I had only snapshots of her.
Robert Capa said, "If your pictures aren't good enough, you're not close enough." Most people read it as advice on how close to stand when you photograph strangers. I read it as getting closer to your subject emotionally, to people you care about enough to take their photo well. A plateau often means you've mastered the look of street photography and forgotten why you started. Shoot the places and people that pull at you, and your work starts to look like you. That's the subject of my guide on how to find your photography style, and it's also the best defence against street photography clichés.
A 30 day plan to break a street photography plateau
This is a free plan from this site, not part of any course. Keep it simple.
| Week | Focus | What to do |
|---|---|---|
| 1 | Audit | Compare your best ten from year one with your best ten from the last three months. Write down two things that improved and two that didn't. |
| 2 | Study | One photographer, one book. Note what repeats. Shoot one of their ideas on purpose. |
| 3 | Limit | One lens and one location for the whole week. Go out at least four times. |
| 4 | Edit | Cull the month down to five pictures. Sequence them. Print them small. |
Then repeat with a new photographer and a new limit. Improvement in street photography is slow, but a little every day compounds. Water wears down coastlines one grain at a time. Keep shooting.
Where a street photography course fits
A plateau is often a sequence problem. You learned things in random order from random videos, so there are holes you can't see. That's why Don Springer and I built Phototactic, our online street photography course, as a step by step path: installing picture patterns first, then intent, composition keys, emotion, priming your mind and editing. The videos are 3 to 5 minutes long, and each module has a cheat sheet and email exercises to take out on the street.
The course doesn't review your photos and there's no community. It teaches you to see and judge your own work. It's $297 as one payment, with a 60 day money back guarantee. If you're weighing it up, read is a street photography course worth it first. New to all this? Start with street photography for beginners.
Frequently Asked Questions
What is the best street photography lesson for intermediate photographers?
Learn to judge your own work. Most street photography is done at the edit, not at the moment you take a photo. Let pictures rest for weeks before you cull. Then ask what each keeper is about. Pair that with a month studying one photographer and you'll see more change than from any new camera or tip.
Do street photography workshops help with a plateau?
They can, if they push you somewhere new. A photography class or workshop that teaches the same tropes you already see online will only make you shoot like the teacher. Look for teaching that explains why pictures work, so you can keep improving on your own. Study of iconic photographers and a clear workflow for culling matter more than one weekend.
How do I improve my street photography?
Change what goes in, not how much you shoot. Study one photographer deeply for a month and shoot assignments with limits, such as one lens or one location. Then cull hard after letting the photos sit for a few weeks. Learning the visual patterns that make a frame work matters more than extra walks with no goal.
Why am I not improving at photography?
Usually because you repeat what you already do well. After the first year, the easy technical gains are gone and progress comes from seeing: subject, timing, composition and editing. Random walks don't train those. Specific goals and strict culling do. Also check your archive, since progress is often real but hard to notice.
How long does it take to get good at street photography?
Most people need years, not months, and progress comes in steps rather than a smooth line. A quote often attributed to Henri Cartier-Bresson says your first 10,000 photographs are your worst. Judge yourself by the best handful of frames per year, not by each outing, and compare your work with your own past, not with a master's best.
Is it normal to feel stuck in photography?
Yes. Almost every photographer hits plateaus, including the ones you admire. You mostly see their best work, never their dry months. Feeling stuck usually means your taste has grown faster than your skill. That gap closes with focused practice and a narrow project, not with a new camera.
Should I buy new gear to get out of a plateau?
Rarely. New gear gives a short burst of novelty, then you're back where you were. Limiting yourself often works better: one lens and one location for a month forces you to find new pictures instead of new equipment. Spend the money on photobooks or a structured course instead.