
The best street photography tips for beginners are simple: carry a small camera with one prime lens, set it so you never think about exposure, get closer than feels comfortable, and go out and shoot often. Everything else, from composition to editing, gets easier once those habits are in place.
I'm Olivier Duong. I teach street photography with Don Springer at Inspired Eye. These are the tips I give every new street photographer, in the order that makes the fastest difference to your pictures.
How to start street photography
Street photography is candid photography of everyday life in public places. You don't need permission or expensive gear. You need a camera and the habit of looking.
Here is how I would start if I were beginning today:
- Pick one camera and one lens. A small camera you enjoy carrying beats a big one you leave at home.
- Set your camera settings once. Use the simple setup further down this page and stop touching the dials.
- Choose one busy area near you. A market or a station works well. Go back to it again and again.
- Shoot for 30 to 60 minutes, often. Short, frequent sessions teach you more than one long trip a month.
- Review your street shots the same day. Pick your best frame and ask why it works.
There is no right or wrong way to begin. The only mistake is waiting until you feel ready.
Use a small camera and a prime lens
Gear matters less than people think, but the right kit makes it easier to shoot street. A small camera draws less attention. People react to a big DSLR with a long zoom lens very differently from a compact camera or a small mirrorless camera.
My advice for your first photography kit:
- A small mirrorless or compact camera. Quiet and comfortable to carry all day, so it actually comes with you.
- One prime lens. A prime lens has a fixed focal length, so you learn to zoom with your feet.
- A 35mm or 28mm focal length (full frame equivalent). Both give a wide field of view that includes your subject and the street scene around them.
- A spare battery and a small bag. Nothing else.
The 35mm and 50mm lenses are great for beginners. A 35mm is forgiving and natural. The 28mm focal length is wider and pulls you into the action, which is why many street photographers like it once they get comfortable. Try different focal lengths over time, but stick with one for a few months so you learn to see its frame before you raise the camera.
For specific picks, see my guides to the best camera for street photography and the best lens for street photography.
Simple camera settings for street photography
Beginners miss moments because they are busy with the camera. Set it up once so exposure and focus take care of themselves, then pay attention to the street.
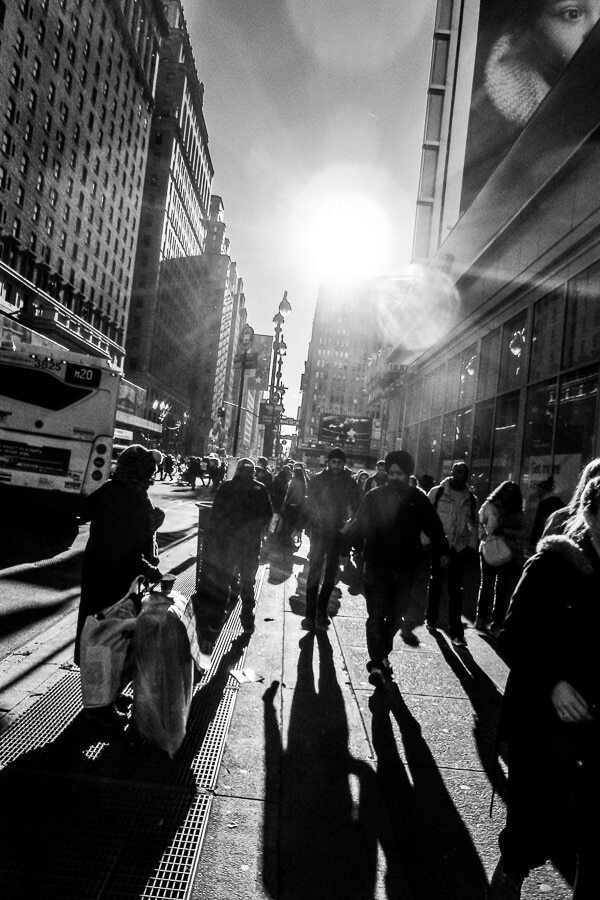
| Setting | Daylight starting point | Why |
|---|---|---|
| Mode | Aperture priority or manual | You control depth of field and the camera handles the rest |
| Aperture | f/8 | Deep depth of field, so most of the frame is sharp |
| Shutter speed | 1/500s or faster | Freezes people walking and avoids blur from camera shake |
| ISO | Auto ISO, capped around 6400 | Keeps the shutter fast when the light changes |
| Focus | Zone focus at about 2 to 3 metres | Everything in that zone is sharp without waiting for autofocus |
At night, open the aperture, lower the shutter speed to 1/125s and let the ISO rise. If you want motion blur on purpose, try 1/15s and keep your subject still in the frame while the crowd moves.
The full breakdown is in my guide to street photography settings.
Get up close and fill the frame
The most common problem I see in beginner street photographs is distance. The subject is a tiny figure in the middle of a wide frame, and nothing tells the viewer where to look.
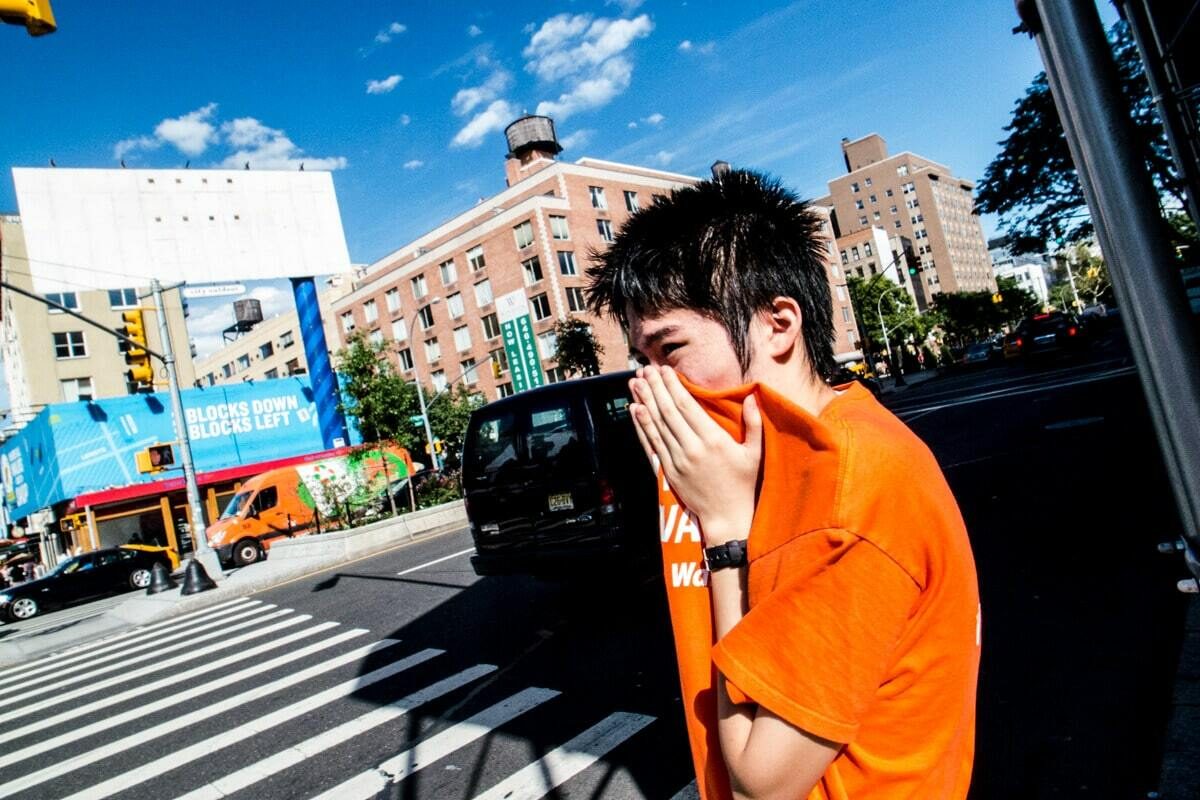
- Get up close. With a 35mm lens, 2 to 3 metres from your subject is a good working distance.
- Fill the frame with what matters and cut what doesn't.
- Check the edges before you press the shutter. Distractions at the border pull the eye out.
- Move your feet instead of cropping later.
Getting close is a skill. Start with crowds, where nobody notices you, and move closer each week.
Find a good scene and wait for the moment
Chasing people around is tiring and gives you pictures of backs. A better technique is to find an interesting street corner or a patch of light, then wait for someone to walk into it. Photographers call this fishing.
Look for a clean backdrop or leading lines that point into the frame. A spot where light and shadow meet works too. Frame the scene and wait. When the right person walks in, you are ready. This one habit will improve your street photography faster than any new lens.
Shooting from the hip is another option in busy places. It helps you stay invisible, but you lose control over the frame and throw away most of your shots. Use it as a tool, not as a way to avoid raising the camera.
Look for patterns, not just people
A photo of a person walking is not yet a picture. What turns a street scene into a strong photograph is a pattern the viewer recognises: repetition, contrast, a gesture that echoes a sign, two things that don't belong together.
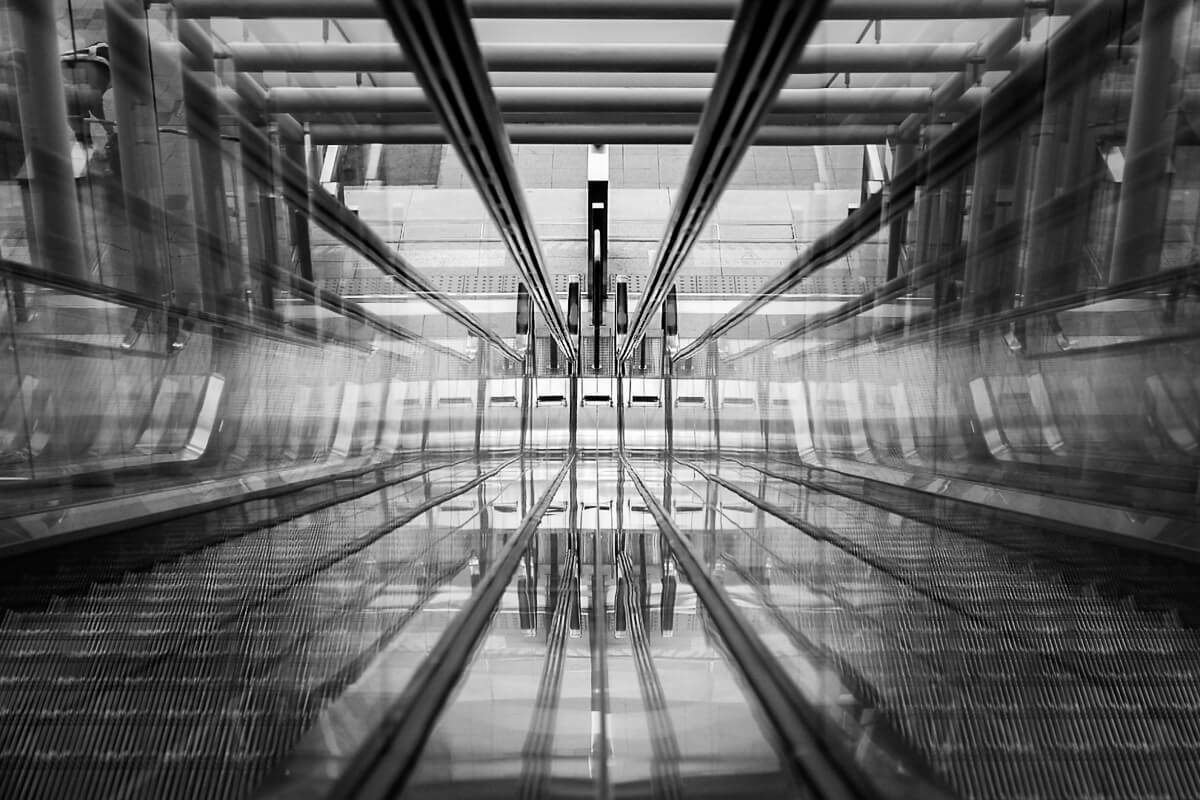
In the Phototactic street photography course for beginners, a whole module is about these picture patterns. Once you learn to spot them, you stop shooting everything and start shooting the scenes that actually make pictures. Some patterns to watch for:
- Juxtaposition: two elements that comment on each other.
- Gesture: a hand or a glance that tells a story.
- Layers: subjects stacked at different depths in one frame.
- Light: a single person caught in a shaft of sun.
- Repetition: shapes or colours that repeat across the frame.
Use good light
Good light makes ordinary scenes worth photographing. Early morning and late afternoon give you long shadows and warm colour. Midday light is harsh, but it creates deep shadows and bright pools you can use for graphic street images.
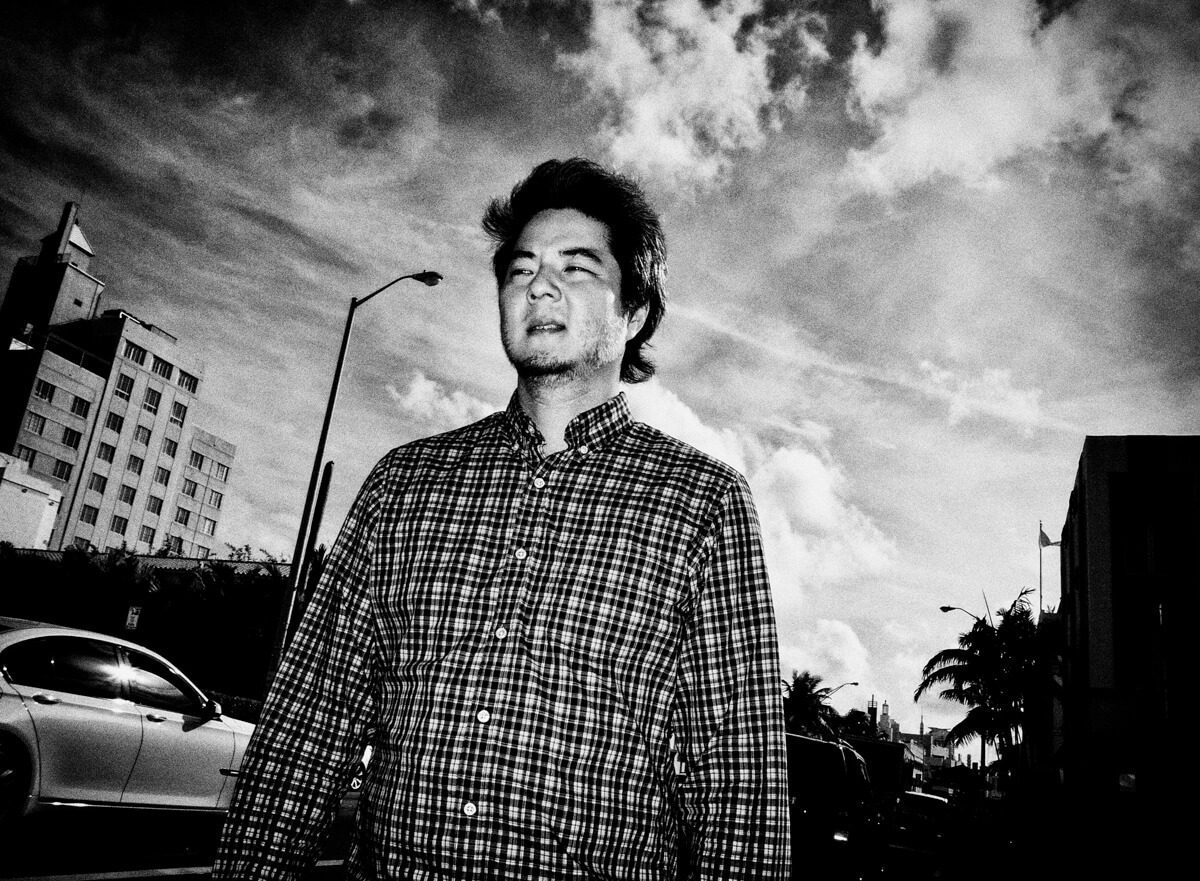
Shoot at different times of the day in the same place. You will see how the light changes the mood of the street, and which hours suit your style. Expose for the highlights when the contrast is strong, and let the shadows go dark.
Shoot with intent
Many beginners wander around hoping something happens. Intent means you decide what you are looking for before you go out. It could be a colour, a type of light, hands, reflections, or people in public spaces reacting to each other.
Giving yourself a small photography project does two things. It trains your eye to notice one thing at a time, and it gives you a set of related street photographs instead of random single frames. Challenge yourself to get ten good frames of one theme before moving on.
How to do street photography without being creepy
Creepy comes from hiding and lurking. Confidence reads as normal. People mostly ignore a photographer who looks like they belong.
- Keep the camera visible. Don't hide it under a coat.
- Don't linger after the shot. Take it and move on, or smile and nod.
- If someone asks, be honest. Tell them what you saw and show them the photo. Offer to delete it if they are unhappy.
- Avoid people at their most vulnerable, like someone in distress. Street photography has ethics, and the law is only part of it.
- Be mindful of your surroundings. Read the mood of a place before you raise the camera.
Rules on photographing people in public places vary by country. Read is street photography legal before you shoot abroad.
Street portraits are a good way to build nerve. Ask a stranger for a portrait and thank them after a few frames. After a few yes answers, candid work feels much easier. Don't be afraid of a no: it costs you nothing.
Why street photography is hard
Street photography is difficult because you control almost nothing. You can't pose people or ask for a second take. Most frames fail, even for experienced photographers.
It is also hard because of fear. Pointing a camera at strangers feels awkward at first. That fear fades with repetition, not with reading.
Why do many beginners quit? In my experience, they expect good results too early, and they shoot without a clear idea of what makes a picture. They come home with hundreds of frames and nothing they like. The fix is to learn the patterns that make strong images and to judge your work on a longer timeline. Consistency beats intensity: an hour three times a week does more than a whole Saturday once a month.
What is the 20/60/20 rule in photography?
There is no single agreed definition. The 20/60/20 rule is used in a few different ways online, and none of them comes from a recognised standard:
- Composition: give roughly 20% of the frame to foreground, 60% to the main subject and 20% to background or space. It is a loose alternative to the rule of thirds.
- Shooting workflow: spend the first 20% of a session getting safe shots, the middle 60% refining angles and light, and the last 20% experimenting.
- Results: expect about 20% of your photos to be good, 60% average and 20% poor.
- Not a colour rule: it is sometimes mixed up with the 60-30-10 colour rule from interior design, which is a different idea.
For street photography, the workflow reading is the most useful. Warm up on easy scenes, then spend most of your time on the ones that interest you. Save the end of the outing for something new. Just don't treat any version as a law. For composition, principles based on how the eye reads a frame will serve you better than fixed percentages.
Edit hard and show less
Editing, in the photography sense, means choosing. It is the fastest way to grow, and most beginners skip it.
- After each session, flag your best frames and ignore the rest.
- Wait a few days, then cut again. Distance makes weak pictures obvious.
- Ask why the keepers work. Is it the gesture or the light?
- Share only your strongest images. A few great pictures beat a feed of average ones on Instagram or anywhere else.
Learn street photography faster
You can learn street photography on your own by shooting a lot. It works, but it is slow, because nobody tells you why a picture fails.
Don Springer and I built Phototactic to shorten that. It is an online street photography course made of 3 to 5 minute videos, designed to change your images in as little as 10 days. Each module comes with a cheat sheet and email assignments. The modules cover picture patterns, intent, composition (the 5 laws, 6 elements and 8 arrangement principles), emotion, priming the mind, editing, and fearless street photography.
It costs $297, one payment, with a 60 day money back guarantee. Bonuses include a live shooting demo and a Photography Basics course for learning your camera. You also get 18 psychological principles. If you want to compare it with other options first, see my list of the best street photography courses.
Frequently Asked Questions
What is the number one rule of street photography?
There is no official rule, but mine is to get closer. Most beginner street photos fail because the subject is too small and too far away. Getting close fills the frame with what matters and shows emotion on faces. It also forces you to commit to a picture. It also builds the confidence you need for every other part of street photography.
What is the best lens for street photography beginners?
A 35mm prime lens (full frame equivalent) is the best starting point for most beginners. It is wide enough to include the scene around your subject but close to how the eye sees. A 28mm is a good choice once you are comfortable getting close. A prime lens teaches you to move your feet instead of zooming.
What camera settings should a beginner use for street photography?
In daylight, start at f/8 with a shutter speed of 1/500s or faster. Set auto ISO with a sensible cap. Zone focus at about two to three metres so you don't wait for autofocus. This setup keeps most of the frame sharp and freezes movement, so you can pay attention to the street instead of the camera.
Do I need permission to take street photos?
In many countries, including the United States and the UK, you can generally photograph people in public places without permission. Laws differ elsewhere, especially in parts of Europe, and commercial use of a photo has stricter rules. Check local law before you travel and always respect people who ask you to stop.
How long does it take to get good at street photography?
It depends on how often you shoot and whether you get feedback. Shooting a few times a week and editing your work honestly will show clear progress within months. Learning a framework for what makes a strong picture speeds this up, because you stop relying on luck and start recognising good scenes before they happen.
Can I do street photography with a phone?
Yes. A phone is silent and draws almost no attention, which makes it a good street photography camera. Use the main lens rather than digital zoom and get close. Tap to lock focus and exposure before the moment arrives. Everything you learn about light and composition applies whatever camera you use.