
Start in manual mode at 1/500s and f/8, and let auto ISO (capped at 6400) set the brightness. In daylight those street photography camera settings freeze people walking and keep most of the frame sharp, so you can stop thinking about the camera.
I'm Olivier Duong. I teach street photography with Don Springer at Inspired Eye. Beginners ask me about settings more than anything else. The honest answer is that settings matter less than seeing. But bad settings will ruin good moments, so it pays to get them right once and then leave them alone.
Settings get you ready. Seeing gets you the picture, and that is what our street photography course is built on. The camera setup comes first, though, and it takes five minutes.
The best settings for street photography: cheat sheet
These are starting points. Change one thing at a time when the light changes.
| Situation | Mode | Shutter speed | Aperture | ISO | Focus |
|---|---|---|---|---|---|
| Bright sun | Manual with auto ISO | 1/500s to 1/1000s | f/8 to f/11 | Auto ISO or 200 | Zone focus at 3 m |
| Overcast day | Manual with auto ISO | 1/250s to 1/500s | f/5.6 to f/8 | Auto ISO, max 6400 | Zone focus or AF-C |
| Open shade, shady side of the street | Aperture priority | At least 1/250s | f/5.6 | Auto ISO 800 to 3200 | AF-C with face detect |
| Night, lit streets | Manual with auto ISO | 1/125s to 1/250s | f/2 to f/2.8 | Auto ISO up to 6400 or 12800 | AF-S or AF-C |
| Intentional motion blur | Shutter priority | 1/15s to 1/30s | f/8 to f/16 | Lowest ISO | Zone focus |
Shoot RAW with auto white balance. In hard sun, set exposure compensation to -1/3 to protect highlights.
Shutter speed for street photography
Shutter speed is the setting that matters most in street photography. People move. If your shutter is too slow, the moment turns to mush.
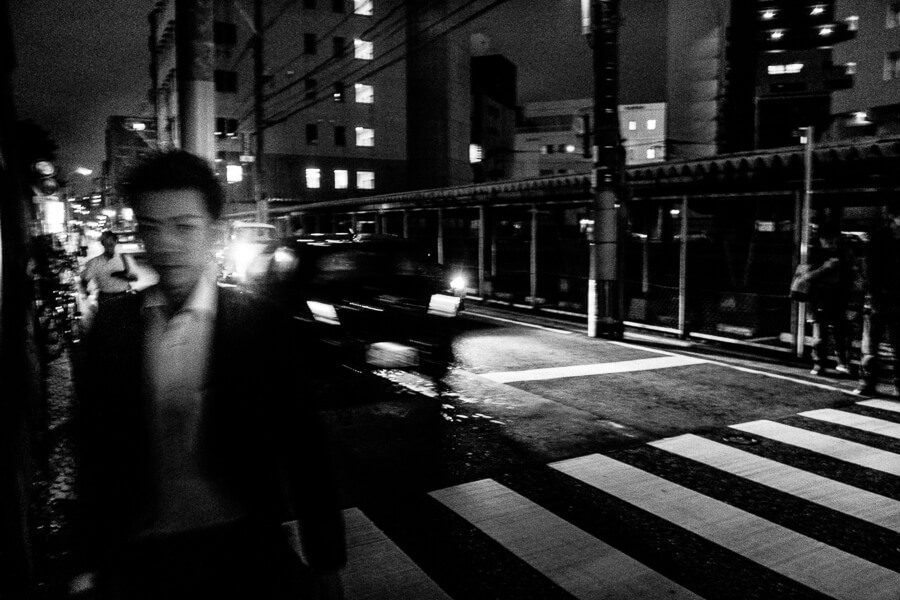
- 1/500s: freezes people walking and most hand gestures. My default in daylight.
- 1/250s: the minimum shutter speed I trust for walking subjects. Fast movements like a kid running may still blur a little.
- 1/1000s and faster: cyclists, runners, jumping dogs, splashing water.
- 1/125s: fine for people standing still or sitting. Good at night when you need light.
- 1/15s to 1/30s: for creative motion blur. Pan with a moving subject, or hold still and let the crowd smear.
Camera shake is a separate problem from subject motion. The old rule says your minimum shutter speed handheld is 1 over the focal length, so 1/35s with a 35mm lens. Image stabilization helps with camera shake. It does nothing for a person walking through the frame. That is why a faster shutter wins on the street even with a stabilized body.
Best aperture for street photography
The best aperture for street photography is usually f/8. It gives you enough depth of field to keep a person sharp even if your focus is a little off, and it still lets in enough light for a fast shutter in daylight.
That is where "f/8 and be there" comes from. The line is usually credited to the press photographer Weegee. It means pick a safe aperture and put your energy into being in the right place.
When to use a wide aperture
A wide aperture like f/2 or f/2.8 gives a shallow depth of field. It isolates one person from a busy background, which looks more like portrait photography than classic street work. It also lets you shoot at night. The cost is precision: at f/2 you must nail focus, so use autofocus rather than zone focusing.
When to use a smaller aperture
f/11 or f/16 gives more depth of field. Use it in bright sun when you want layers of people sharp from front to back. A smaller aperture also makes zone focusing more forgiving, as the table further down shows.
So is f/2.8 or f/4 better? Neither. f/2.8 lets in twice the light. f/4 gives a bit more depth of field. For street work in daylight, both are usually wider than you need.
ISO and auto ISO
ISO sets how bright the image gets for a given shutter speed and aperture. Higher ISO means more noise, but modern sensors handle ISO 3200 and 6400 well. Noise is a better problem to have than blur.
I use auto ISO almost all the time. You choose the shutter speed and aperture you want, and the camera handles exposure by raising or lowering the ISO. On most cameras you can set the ISO range, for example 200 to 6400, and a minimum shutter speed for auto ISO. Set that minimum to 1/250s or 1/500s so the camera never drops into blur territory.
Rough ISO guide if you prefer to set it yourself:
- ISO 100 to 200 in bright sun
- ISO 400 to 800 on overcast days
- ISO 800 to 3200 in shade or indoors
- ISO 3200 to 6400 or higher at night
What is the best ISO setting for street photography? The lowest one that still gives you the shutter speed you need. Auto ISO finds that for you, which is why I recommend it.
Aperture priority vs shutter priority vs manual mode
There is no single right mode for street photography. Each one decides who controls what.
| Mode | You set | The camera sets | Best for |
|---|---|---|---|
| Aperture priority (A or Av) | Aperture | Shutter speed (and ISO if auto) | Controlling depth of field, zone focusing |
| Shutter priority (S or Tv) | Shutter speed | Aperture (and ISO if auto) | Freezing motion in changing light |
| Manual with auto ISO | Shutter speed and aperture | ISO | Locking both, the setup I use most |
| Full manual | Everything | Nothing | Steady light and consistent exposure |
Many street photographers shoot aperture priority, and it works if you watch your shutter speed. The trap is shade. You step into shadow and the camera drops to 1/60s. Every frame comes out soft. If you shoot in aperture priority, use auto ISO with a minimum shutter of 1/250s.
Manual mode with auto ISO is my favourite. You choose both the aperture and the shutter speed, and the ISO floats. Add exposure compensation to nudge brightness. Full manual works well when the light is even, but you will need to change your settings every time you cross the street.
Zone focusing for street photography
Zone focus means you pre-focus your lens at a fixed distance and use a small aperture so everything in a band, or zone, in front of the lens is acceptably sharp. Then you never wait for autofocus. You raise the camera and shoot. It works best with a wide focal length like 28mm or 35mm.
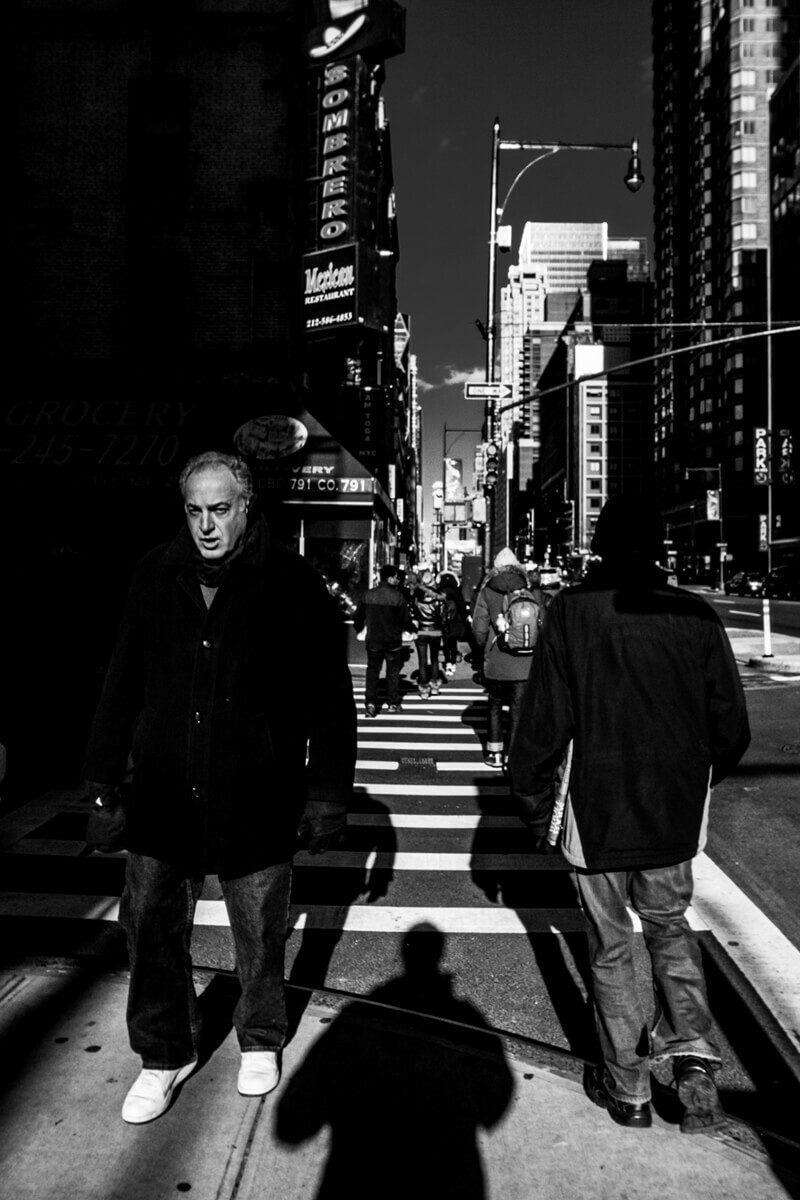
How to set it up:
- Switch the lens or camera to manual focus.
- Set aperture priority or manual at f/8 or smaller.
- Set the focus distance, for example 3 m, using the lens scale or the distance readout in the viewfinder.
- Walk until your subject is inside the zone, then shoot without refocusing or trying to recompose.
The hyperfocal distance is the focus point that puts everything from half that distance to infinity in the zone. Focus there and you get the deepest zone your aperture allows.
Zone focusing table for 28mm and 35mm
I calculated these with the standard depth of field formula. Assumptions: full frame sensor, circle of confusion 0.03 mm. Figures are rounded.
| Lens | Aperture | Focus at | Sharp from | Sharp to |
|---|---|---|---|---|
| 28mm | f/5.6 | 3 m (10 ft) | 1.8 m (6 ft) | 8.3 m (27 ft) |
| 28mm | f/8 | 2 m (6.6 ft) | 1.25 m (4.1 ft) | 5 m (17 ft) |
| 28mm | f/8 | 3.3 m (11 ft), hyperfocal | 1.65 m (5.4 ft) | Infinity |
| 28mm | f/11 | 2.5 m (8 ft) | 1.2 m (4 ft) | Infinity |
| 28mm | f/16 | 2 m (6.6 ft) | 0.9 m (3 ft) | Infinity |
| 35mm | f/5.6 | 3 m (10 ft) | 2.1 m (7 ft) | 5.1 m (17 ft) |
| 35mm | f/8 | 3 m (10 ft) | 1.9 m (6.2 ft) | 7.2 m (23 ft) |
| 35mm | f/8 | 5.2 m (17 ft), hyperfocal | 2.6 m (8.5 ft) | Infinity |
| 35mm | f/11 | 3 m (10 ft) | 1.7 m (5.5 ft) | 14.9 m (49 ft) |
| 35mm | f/11 | 3.8 m (12.5 ft), hyperfocal | 1.9 m (6.2 ft) | Infinity |
| 35mm | f/16 | 2.6 m (8.5 ft), hyperfocal | 1.3 m (4.3 ft) | Infinity |
Formula used: hyperfocal distance H = f² / (N × c) + f, near limit = s(H − f) / (H + s − 2f), far limit = s(H − f) / (H − s), where f is focal length, N is the f-number, c is the circle of confusion and s is the focus distance.
A 28mm lens is far easier to zone focus than a 35mm, because depth of field grows fast as focal length drops. At 35mm, f/8 with focus at 3 m only covers about 1.9 m to 7.2 m, so you need to judge distance well. On APS-C, a 23mm lens (35mm equivalent) with a 0.02 mm circle of confusion has a hyperfocal distance of about 3.3 m at f/8, close to the full frame 28mm row.
These numbers assume "acceptably sharp" at normal print sizes. If you zoom to 100% on a high resolution sensor, the zone looks thinner. Some cameras make this easy: the Ricoh GR has a snap focus setting, and Fuji X100 bodies show a depth of field scale in manual focus. If you are still choosing between focal lengths, my guide to the best lens for street photography compares focal lengths in detail.
Zone focus or autofocus?
Both work. Modern autofocus is fast, and face and eye detection will track a person across the frame. Use autofocus when you shoot wide open or work with a longer focal length like 50mm.
Use zone focus when you want zero delay or when you shoot from the hip. Manual focus with a zone is also quieter in your head. You stop checking focus points and start watching people.
Autofocus settings for street
- AF-C (continuous): for people walking toward or away from you.
- AF-S (single): for still subjects and careful compositions.
- Face or eye detection: turn it on. It handles most candid frames.
- Back button focus: lets you lock focus once and fire many frames without refocusing. Handy as a hybrid of autofocus and zone focus.
Sunny 16 for street photographers
The sunny 16 rule says that in bright sun, at f/16, the correct shutter speed is roughly 1 over your ISO. At ISO 200 that is f/16 at 1/200s. It is how film shooters set exposure without a meter, and it still helps you sanity check your camera.
Street shooters rarely want f/16, so shift the numbers. Every stop you open the aperture, double the shutter speed:
- ISO 400, f/16, 1/400s (use 1/500s)
- ISO 400, f/11, 1/800s (use 1/1000s)
- ISO 400, f/8, 1/1600s
- ISO 200, f/8, 1/800s (use 1/1000s)
Adjust for the light. Under slight overcast, f/11 becomes the base. Under heavy overcast or open shade, open up to f/5.6. Once you know sunny 16, you can set manual exposure for a whole sunny afternoon and forget about it.
Drive mode, RAW vs JPEG and white balance
Drive mode. I use single shot most of the time. It forces you to pick the moment. Continuous low, a few frames per second, is useful when someone is walking into a spot you have framed. Continuous high fills your card with near duplicates. A silent or electronic shutter keeps you discreet, but under some artificial lights it can cause banding, and fast motion can bend with the rolling shutter.
RAW vs JPEG. Shoot RAW, or RAW plus JPEG. RAW files hold more highlight and shadow detail, which matters in harsh street light and at night. JPEG is fine if you love your camera's film looks, like the ones on a Fuji. RAW plus JPEG gives you both.
White balance. Auto white balance is good enough in RAW because you can change it later. If you shoot JPEG under mixed street lights, try a fixed setting like daylight so the colours stay consistent across a series.
Exposure compensation. Digital sensors clip bright highlights. In hard sun, -1/3 or -2/3 keeps skies and white shirts from blowing out. Raise the shadows later.
Night street photography settings
Shooting at night is where settings matter most, because every choice is a trade. My starting point for night shooting:

- Manual mode at 1/125s and f/2 or f/2.8, with auto ISO
- Auto ISO ceiling at 6400, or 12800 if your camera handles it
- Autofocus, since zone focusing at f/2 is too shallow to trust
- RAW, so you can pull detail out of the shadows
Boost your ISO before you drop the shutter speed. A noisy sharp frame is usable. A clean blurry one is not. If people are still or you want motion blur, go down to 1/60s and brace yourself against a wall.
Work the light. Shop windows and street lamps give you pools of light. Put your subject inside one and expose for it. Let the rest fall to black. A wide aperture here gives shallow depth of field, so focus carefully and recompose less.
Set up your camera once, then stop thinking about it
My setup before a walk:
- Mode: manual with auto ISO, or shutter priority.
- Shutter speed 1/500s, aperture f/8.
- Auto ISO range 100 to 6400, minimum shutter 1/250s.
- Focus: manual at 3 m for zone focusing, or AF-C with face detection.
- Drive: single shot. File type: RAW.
- Exposure compensation -1/3 in sun.
Save it to a custom mode if your camera has one. The right camera helps too. A small body with a fixed wide lens is easier to use on the street, and I compare options in the best camera for street photography guide.
Settings are step one. The hard part is seeing: where to stand and when to press the shutter. That is what our online street photography course teaches, with short daily videos on composition and seeing. It also includes a Photography Basics bonus that helps you quickly master your camera in two hours, with the jargon made clear and how each setting changes the image. If you are brand new, start with street photography for beginners.
Frequently Asked Questions
What are the best camera settings for street photography?
A reliable starting point is manual mode at 1/500s and f/8 with auto ISO capped around 6400. Shoot RAW and use single shot drive. For focus, zone focus at about 3 m with a 28mm or 35mm lens, or use continuous autofocus with face detection. Adjust shutter speed first when the light changes.
What shutter speed should I use for street photography?
Use 1/500s to freeze people walking in daylight. 1/250s is the minimum shutter speed I trust for walking subjects. Go to 1/1000s for cyclists or runners. At night, 1/125s works for people who are standing still. For creative motion blur, try 1/15s to 1/30s and pan with your subject.
What does f/8 and be there mean?
It is an old press photography saying, usually credited to Weegee. It means set a safe aperture like f/8, which gives enough depth of field to forgive small focus errors, and then put your attention on being in the right place at the right time. For street photography it is still good advice in daylight.
Is aperture priority or shutter priority better for street photography?
Shutter priority is safer for beginners because it protects you from motion blur when you move into shade. Aperture priority is better when you want control over depth of field or you zone focus, but pair it with auto ISO and a minimum shutter speed of 1/250s. Manual with auto ISO gives you control over both.
What is zone focusing?
Zone focusing means pre-setting your focus at a fixed distance and using a small aperture so a band of distance in front of the camera is sharp. With a 28mm lens at f/8 focused at 3.3 m, everything from about 1.65 m to infinity is acceptably sharp on full frame. You shoot without waiting for autofocus.
What ISO should I use for night street photography?
Expect ISO 3200 to 6400, and higher on cameras that stay clean. Set auto ISO with a ceiling of 6400 or 12800. Keep the shutter at 1/125s or faster with the aperture at f/2 or f/2.8. Raise the ISO before you lower the shutter speed, since noise is easier to live with than blur.
Is 35mm or 50mm better for street photography?
35mm is the more common choice. It shows context around your subject and is easier to zone focus. 50mm gives a tighter frame and more background blur, but its depth of field is thinner, so autofocus is the better fit. If you are unsure, start with 35mm and see how close you like to get.