
For street photography at night, start at f/2 to f/2.8, 1/125s and auto ISO up to 6400, and stand near the light. Those settings freeze people walking under a street lamp or in front of a shop window, and your camera will cope with almost anything a lit city gives you.
I'm Olivier Duong, a street photographer. This night street photography guide covers what actually works. Night street photography is the same game as the day. The composition rules are identical. The only real difference is the light at night, and there is a lot less of it. Once you accept that you have to go where the light is, night stops being hard and starts being the most fun time to shoot.
Camera settings for night street photos: cheat sheet
These are the settings to use for street photography at night. Different settings suit different scenes, so treat each row as a starting point:
| Scene at night | Aperture | Shutter speed | ISO | Focus |
|---|---|---|---|---|
| Bright shop fronts, neon, busy lit streets | f/2.8 to f/4 | 1/250s | Auto, max 6400 | AF-C with face detect |
| Street lamps, darker side streets | f/2 to f/2.8 | 1/125s | Auto, max 6400 to 12800 | AF-S on a lit spot |
| People standing still, cafés, bus stops | f/2 | 1/60s | Auto, max 6400 | AF-S or manual focus |
| Trains and subway cars | f/2.8 | 1/125s to 1/250s | Auto, usually 1600 to 3200 | AF-C |
| Motion blur on purpose | f/4 to f/8 | 1/8s to 1/30s | Low, 400 to 800 | Pre-focus, brace the camera |
| Flash | f/5.6 to f/8 | 1/30s to 1/125s | 400 to 800 | Zone focus at 1.5 to 2 m |
Shoot RAW and leave white balance on auto. You will set the color later, and artificial light is a mess of greens and oranges anyway. The full daytime setup lives in my street photography settings guide.
Find your two limits before shooting street photography at night
You need two numbers for night work: the slowest shutter speed you can hand hold without shake, and the highest ISO you can live with. Find them at home, and the guesswork on the street disappears.
Your slowest safe shutter speed. Shoot a wall or a plant at 1/125s, then 1/60s, 1/30s and slower. Zoom in on the back of the camera each time. The last speed that is still sharp is your limit. There is no universal number. It depends on your hands and the weight of the camera, and image stabilization helps a lot. With a bigger camera I'm good to about 1/30s. Remember this only covers camera shake. A person walking needs a fast shutter speed, 1/125s or faster, to stay sharp, whatever your stabilizer says.
Your highest ISO. Shoot the same scene in the dark at ISO 1600, 3200, 6400 and 12800. Look at the noise at the size you actually view photos. Modern full-frame and APS-C cameras are fine at ISO 3200, and most handle 6400. Small image sensors get grainy much sooner.
Now set your auto ISO ceiling to that ISO, and your minimum shutter speed to 1/125s for people. The camera cannot cross those guardrails, so a blurry or unusable file becomes much rarer.
Night street photography tips: stay close to the light
The most useful night street photography tip I know: act like a fly and stick to the light. Photography is painting with light. Where there is none, there is no picture.
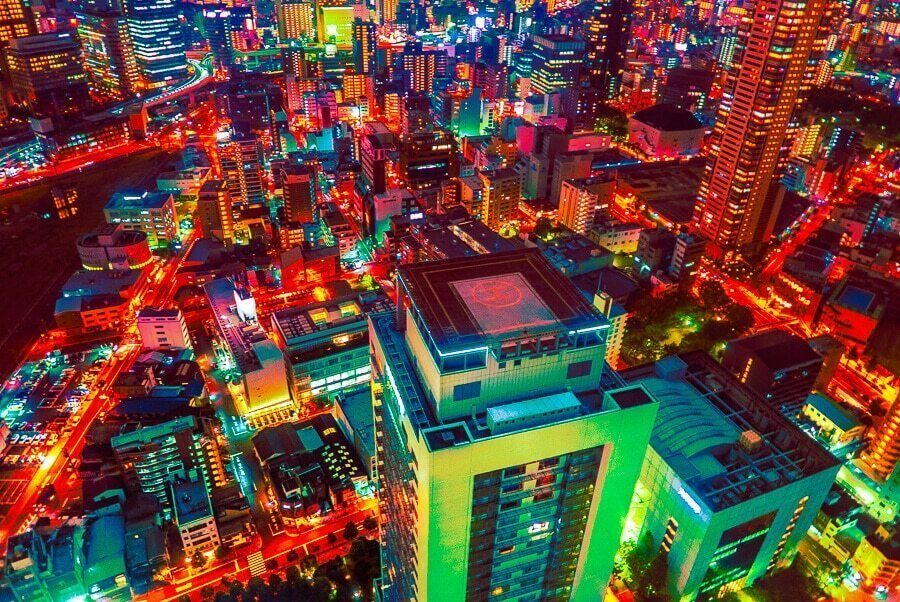
Look for light sources and work around them:
- Shop windows and storefronts. A big bright window is a soft light source. Faces that walk past it light up.
- Street lights and street lamps. They make pools of light on the pavement. Wait for someone to step into one.
- Neon signs and vendor stalls. Colored light that makes the frame, and busy spots with people.
- Car headlights. Stand so traffic comes toward you and anyone who crosses the beam gets lit. This one is hard, but the shots are unique.
- Trains and subway cars. Overhead lights give you plenty of soft, even light, so you can shoot at normal settings.
Night also gives you something the sun never does: many colors of light at once. A pharmacy throws green light and the restaurant next door throws warm orange. Put two of them in the same frame and let them fight. That contrast does half the work. The same idea is behind light and shadow photography: expose for the bright patch and let the rest go black.
The best street photography camera and lens for low light
Your lens is the main limit at night. A fast lens of f/2.8 is the bare minimum, and f/2 or f/1.8 is much better. That number is the f-number, and lens speed simply means how wide it opens. The wider the aperture, the more light you get: every stop wider lets you halve the ISO or use a faster shutter speed.
A small prime lens is the classic choice. A 28mm or 35mm f/2 or f/1.8 is light and fast. A kit zoom lens that closes down to f/5.6 at the long end is the hardest tool for the night. Before you buy new camera gear, try a cheap 50mm lens at f/1.8 if your mount has one, like the Canon EF 50mm f/1.8. A wide aperture also gives you bokeh, the soft blur of street lights behind your subject.
The camera matters less than people think. A full-frame camera, mirrorless or DSLR, handles high ISO better than a small sensor, and newer sensors beat older ones. Most modern APS-C sensors, like the ones in Fujifilm bodies, give acceptable results at high ISO. But be honest about whether the problem is the camera or gear lust. If your camera is from the last few years, work on the tips above first. My picks are in the best camera for street photography and the best lens for street photography.
A smartphone works too. Night mode stacks several frames, which is great for still scenes and weak for moving people. I have taken grainy night shots with my phone that I still like. A grainy photo beats no photo.
How to focus when photographing at night
Autofocus slows down in the dark, so point it at the brightest, most contrasty spot near your subject, or switch to manual focus. Zone focusing is hard at night because f/2 gives you very little depth of field.
Which AF mode? This comes up a lot. Use single point AF-S when the subject will stand still in a pool of light, and AF-C with face or eye detection when there is enough light for the camera to track. When the camera hunts, go manual.
- Turn off the AF assist lamp. That little light tells everyone you're about to shoot and scares people off.
- Turn on focus peaking. It outlines what is sharp in the viewfinder, so manual focus becomes quick.
- Pre-focus on a spot where the light is, then wait for someone to walk into it.
- Test in a dark room at home. You learn in ten minutes whether your camera sees in the dark.
Shoot in RAW, accept the grain and keep your shutter fast
When you have to give something up at night, give up clean files, not shutter speed. Nothing fixes a blurry photo, but anybody can look past grain when the picture is there.
Shoot in RAW. The raw image format keeps far more shadow information than a JPEG, so you can underexpose by a stop to protect the shutter speed and lift it later in Lightroom. Nothing destroys a JPEG faster than a dark night image.
Film shooters have the same trade. Film speed is ISO for film, and 400 speed 135 film pushed a stop or two was the classic answer for photos at night. Grain was part of the look.
Image noise looks better in black and white. If a color file is too noisy, convert it. Grain can read as mood instead of a flaw. The night photos I like best are often blurry and grainy. Night street photography is about accepting imperfection.
Should you use a tripod for street photos at night?
Skip the tripod for street photography at night. It makes you slow and visible, and people move anyway, so a stable camera does not freeze them.
A monopod gives you a couple of extra stops without the bulk. I don't use one. I brace against the environment instead: lean the camera on a wall or a fence, hold it from below and let the surface do the work. That is enough for 1/15s or slower on the static parts of a scene.
Aperture priority, shutter priority or manual: which camera mode?
Use manual mode with auto ISO, or shoot in aperture priority with a minimum shutter speed set. Both keep your shutter speed where you need it and let ISO float with the light.
In aperture priority alone, the camera will happily drop to 1/15s in a dark street and blur every walking person. That is the most common reason night photos fail. Shutter priority works too: lock 1/125s, and the camera opens the aperture as wide as it can. When there isn't much light, all three modes end up at the same place, wide open, so pick the one you can change fastest.
Day time and night need the same discipline: keep your shutter speed high enough for the subject. A faster shutter speed means fewer throwaway frames.
Slow shutter speeds and flash at night
You have two creative ways to beat the dark when you shoot at night: use a slower shutter speed on purpose, or use a flash and bring your own light.
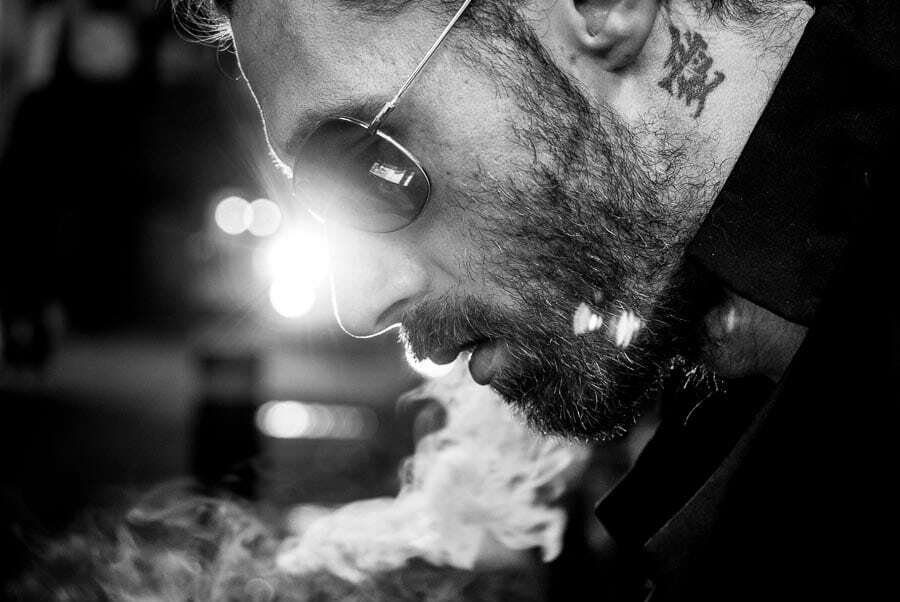
Slow shutter. Blur from bad settings is an accident. Blur you choose is a style. Keep a lit part of the frame sharp and let passersby smear at 1/15s or 1/8s. Long exposure photography turns moving people and car lights into streaks while the street scene stays sharp. I explain the full method in motion blur photography.
Flash. A flash solves the light problem, but not the focus problem. Your camera may still fire its AF lamp before the shot. Flash is also the most confrontational way to shoot. How to do it well, and politely, is in flash street photography.
Night portraits. If you make street portraits, night is magic. Put your subject with their back to you and their face to a well lit storefront, and open the lens wide so the background melts into shallow depth of field. The bigger the light source, the softer the light.
Streets at night: where to shoot
Go where the people and the light are: markets, busy shopping streets, entertainment districts and transport hubs. Quiet residential streets are dark and empty after sundown.
- Night markets and food stalls. Bare bulbs, faces, steam and smoke.
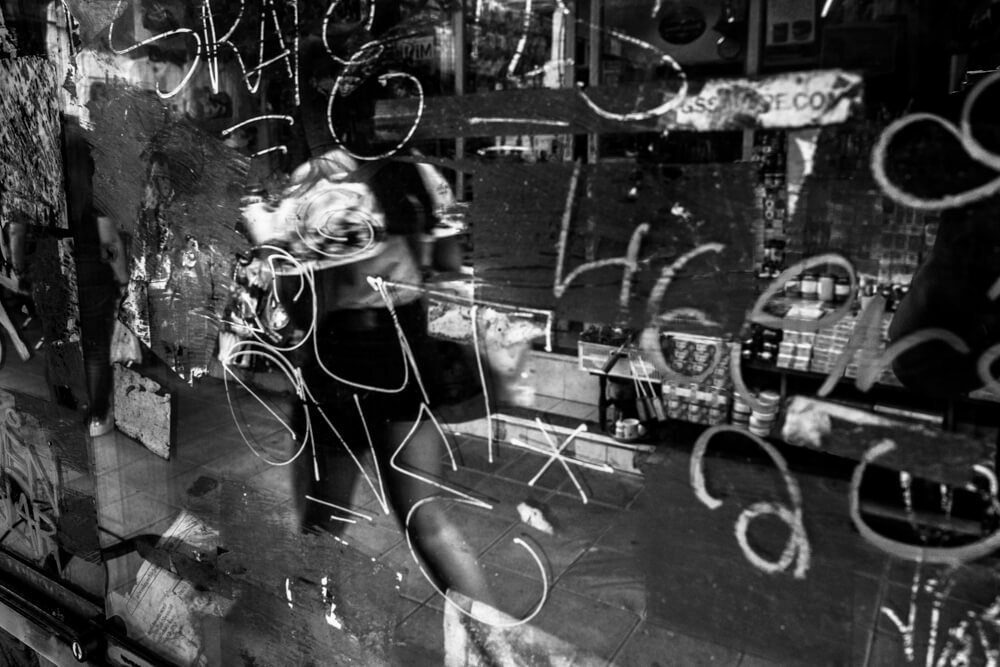
- Reflections. Wet pavement after rain and shop glass double the light and add layers.
- Indoors. Malls and stations have light, but they are private property with their own rules. Check whether street photography is legal where you are.
- Nightscapes. Some nights the city at night is the subject. A cityscape with no people can work when the light is strong.
Big cities that stay lit late are easy places to start. New York City and Tokyo have enough light for handheld shots at night on almost any main street. See my notes on street photography in Tokyo and Hong Kong, and look at how Brassaï built Paris de nuit around single light sources in my Brassaï profile. Brassaï worked on a tripod with exposures of minutes. You can do the same with a hand-held camera at 1/125s.
Settings get you the file, seeing gets you the photo
Nail your two limits and stay near the light. That solves the technical side of night street photography in an evening. What is left is the harder part: knowing what to point the camera at.
That is what I teach in my online street photography course. It teaches you to see picture patterns and build emotion into a frame. It also includes a Photography Basics bonus on how settings change the image, and a recorded shooting demonstration where I show how I work from morning to night. If you are still learning the dials, the sunny 16 rule is a good way to understand exposure without a meter.
Frequently Asked Questions
What ISO should I use for night street photography?
Use auto ISO with a ceiling of 6400 on most modern cameras, or 12800 if your camera stays clean. Test your camera in the dark at home first. Raise ISO before you lower shutter speed, because grain is fixable or even attractive, while a blurry subject is not. Small sensor cameras and phones get noisy sooner, so cap them lower.
What shutter speed should I use at night?
Use 1/125s for people walking and 1/60s for people standing still. Go slower only when you want motion blur on purpose. Camera shake and subject movement are different problems: stabilization lets you hand hold 1/15s on a static scene, but it will not freeze a walking person. Set 1/125s as your minimum in auto ISO.
Do I need a tripod for street photography at night?
No. A tripod slows you down and does not stop people moving. Use a fast lens and high ISO instead, and brace the camera on a wall or a railing when you need a slow shutter speed. A monopod is a middle ground if you shoot a lot of slow exposures.
What is the 500 rule in night photography?
The 500 rule is for photographing stars, not streets. Divide 500 by your focal length (times the crop factor) to get the longest exposure in seconds before stars start to trail. A 20mm lens on full frame gives 25 seconds. On the street you work in fractions of a second, so the rule does not apply.
Is street photography at night more dangerous?
It can be, depending on the area. Stay in busy, lit streets where people are out, and trust your instincts. The same legal and privacy rules apply at night time as in the day in most countries, but lighting someone up with flash is more confrontational, so be ready to talk.