
To photograph shadows, shoot into low, hard sunlight and expose for the bright areas so the shadows fall to deep black. Find the shape the shadow makes first, then wait for a person to step into the light next to it.
I'm Olivier Duong. Photography literally means drawing with light, so light is the photographer's paint. After composition, nothing changes your photos more than the light that is in them. Shadow photography is simply learning to use the dark half of that paint on purpose.
What is shadow photography?
Shadow photography is any photography where the shadow is a main part of the picture, not an accident. The shadow can be the subject, like the long cast shadow of a walker. Or it can be the dark mass around a lit face that makes it pop.
Shadows matter because the eye goes to contrast. Light next to dark is the strongest contrast there is. That is why a person standing in a small patch of light on a dark street pulls your attention before anything else in the frame. There are many ways to contrast elements in a photo, and light against dark is the easiest one to start with.
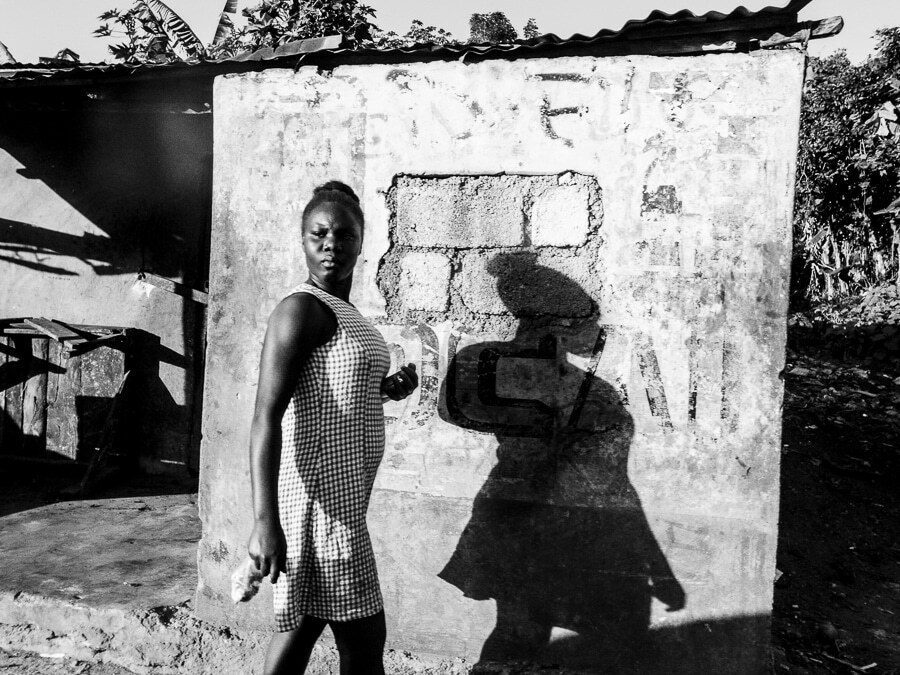
Shadows can help in more ways than contrast. They add depth. A flat, two dimensional photograph starts to feel like a real space when shadows show you where the light source is and how far things sit from each other. They add mood and a visual story. The absence of light hides information, and whatever the viewer can't see, they fill in themselves. That is how shadows create mystery and direct attention at the same time.
Light in photography: hard light, soft light and the resulting shadows
Every shadow depends on the light source and the angle of the light. Before you look for shadows, look at the light.
- Hard light comes from a small or distant source, like direct sun or a bare bulb. It gives hard shadows with crisp edges. This is the light you want for graphic shadow images.
- Soft light comes from a large source, like an overcast sky or light bouncing off a white wall. It gives soft shadows with gradual edges. Great for gentle portraits, useless for strong shapes.
Then look at the angle. When the sun is low in the morning or late afternoon, shadows stretch long across the pavement. Around golden hour they turn warm and dramatic. At midday the sun is overhead, so the shadow under a person shrinks to a blob at their feet. Midday still works, but you look for shadows cast by buildings and awnings instead of by people.
In studio lighting, photographers shape shadows with light modifiers: an umbrella or softbox to soften the key light, or a gobo (short for go-between) to cut the light into shapes. On the street, the city does it for you. Window grates, blinds, trees and fire escapes are free gobos. Every shadow cast by them throws shapes and patterns across walls and pavement all day long.
How to use shadows to create stronger street photos
1. Go where the buildings are
Tall buildings cast huge shadows, and between them the sun cuts through in slices. In New York, my advice is to go where the buildings are and watch the shadows they cast and the sun they reflect. You can wait for the sun to peek around a building and light one corner of the street. Architecture photography and street photography meet in these spots.
2. Find the patch of light, then wait
This is the most reliable method I know. Find a patch of light surrounded by shade. Frame it. Wait for someone to walk into it. Because the rest of the frame is dark, the person will become the focal point without any help. It works with any lens, and it is the fastest way to make a strong picture on a busy street.
3. Use shadows to lead the eye
Shadows are a compositional tool like any line or shape. Many photographers treat them as the key compositional element of the frame. A row of shadows can point at your main subject the way a road does. I once shot a group of men from a car, too far away to blur the background. Their shadows on the wall repeated their shapes and led the eye straight to them. That is the law of similarity and the law of continuity working together.
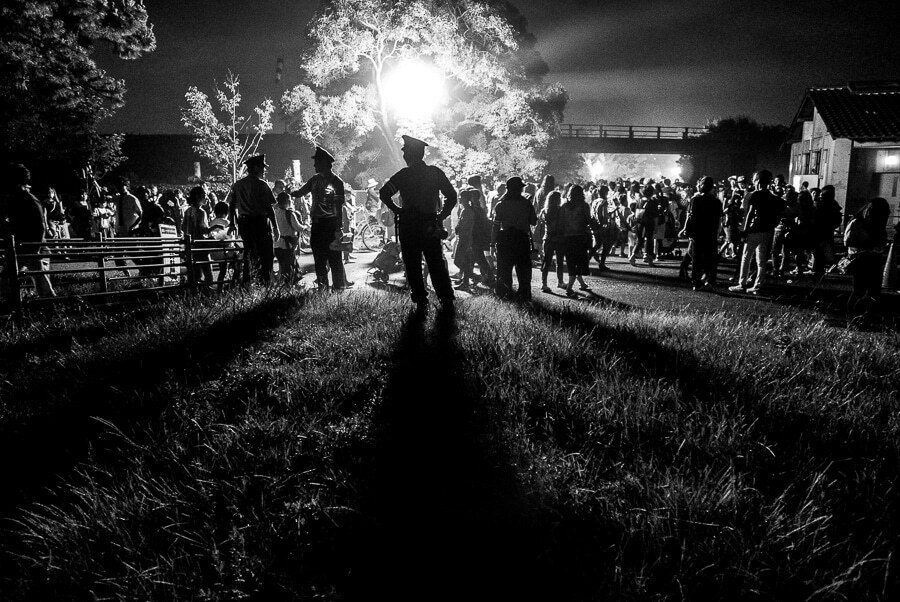
4. Make the shadow the subject
Sometimes the shadow is more interesting than the thing casting it. A long shadow can be stretched and bent by steps and curbs. Lee Friedlander made his own shadow a signature, dropping it into the frame again and again. Try photographing only the shadow, with just a foot or a wheel of the person showing at the edge.
5. Use shadow as negative space
Large areas of black are negative space. Place the lit subject on a rule of thirds point and let the dark fill the rest. They give the subject room and make the picture feel calm or ominous. A black shadow can also work as a frame within the frame: nest your subject inside a lit shape surrounded by dark and it will pop, the same idea as framing in photography.
6. Watch the edges of the light
The most striking shadow photos often happen at the border between light and dark. A face half in light. A foot stepping across the line. Stand where the edge is and wait for the gesture.
Silhouette photography: when the subject goes black
A silhouette is a subject that shows only as a dark shape against a bright background. You get one by shooting toward the light and exposing for the bright background, so the subject falls into shadow. The rule for a good silhouette is simple: the shape must read. A person seen from the side, with space between the arms and the body, reads. A blob of three people overlapping does not.
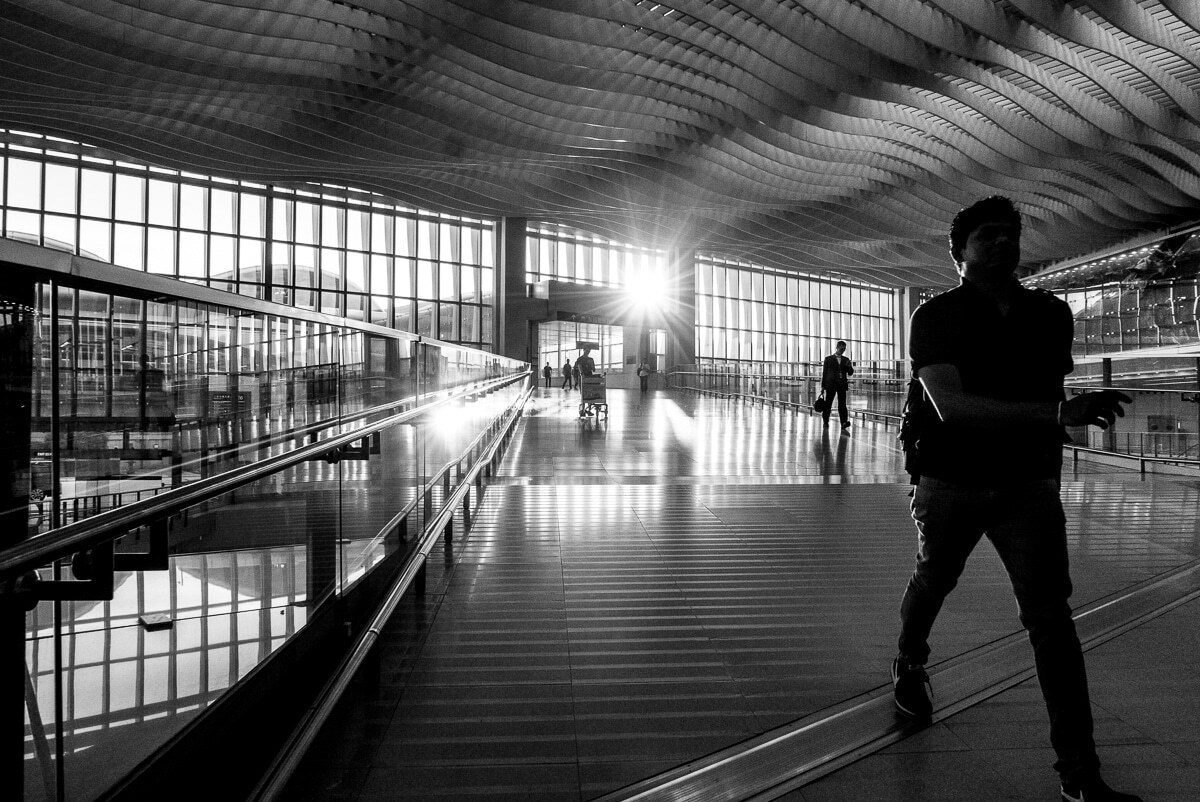
Airports, train stations, beaches like Coney Island at sunset and big glass buildings are ideal because they put a bright wall of windows behind people. Put the subject against the brightest part of the background and keep the edge of their profile clean.
A word of warning. On Reddit, one street photographer summed up a common frustration: "High contrast silhouettes stepping into light! I am sick of this fad." They have a point. A silhouette stepping into a shaft of light has been shot so often that it has become a street photography cliché. It is not a bad picture. It is just a picture everyone has seen. The fix is to add a second layer, like a gesture or a relationship with something else in the frame. The light gets people to look. The second layer makes them remember it.
Reflection photography: puddles, windows and shiny floors
Reflections repeat part of the picture, and repetition is one of the easiest design principles to use. That is why reflection photography looks graphic almost by default. There are far more reflections in the streets than you think. You have simply never looked for them.
- Windows and storefronts. Glass half reflects and half lets you see through. You get the people inside and the street outside layered in one frame. It is one of the simplest ways into layering.
- Puddles. After rain, get low and put the lens close to the water. Reflections in puddles show an upside down world that can be surreal. Upside down puddle shots are another popular trope, so look for a reflection that adds something.
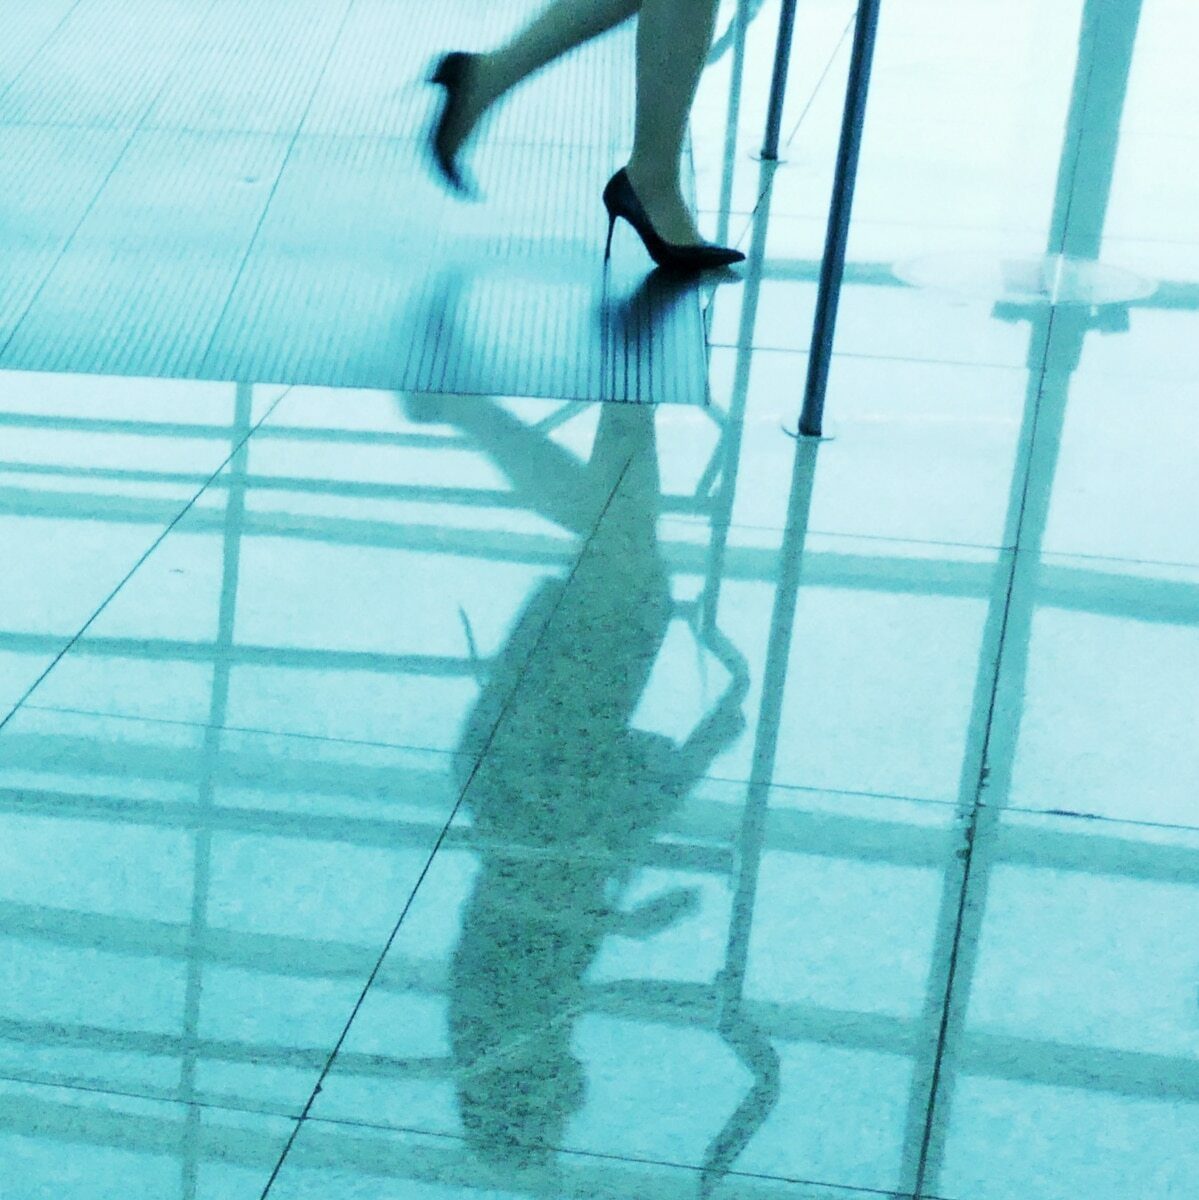
- Shiny floors. Airports and malls often have polished floors that act like a mirror.
- Glass towers. Office buildings reflect their neighbours and the sky, especially when the light is low.
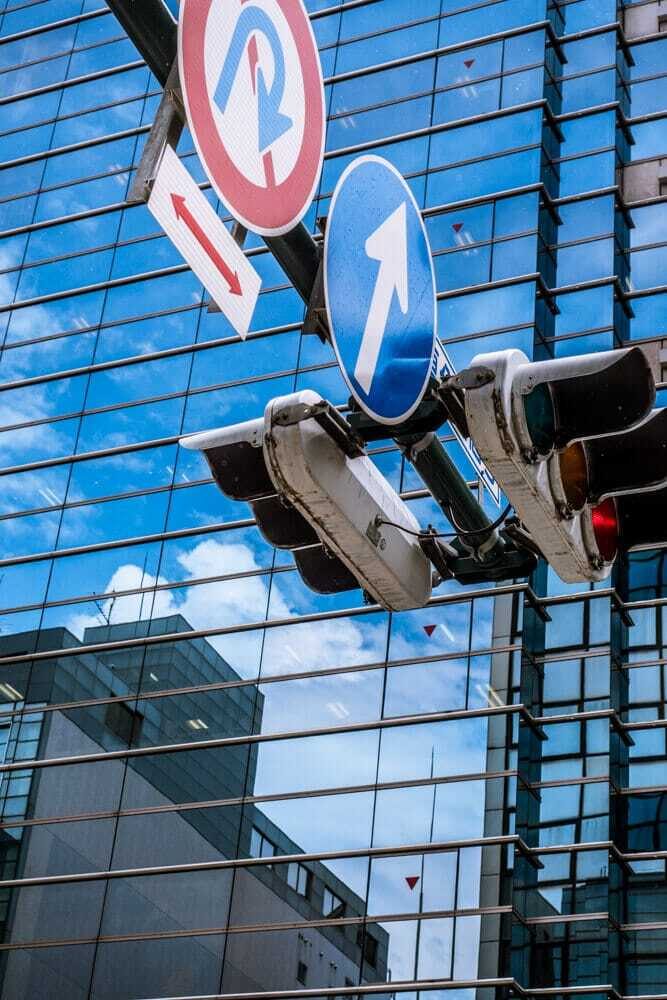
Chiaroscuro, Rembrandt and the inverse square law in portrait photography
Chiaroscuro is an Italian word meaning light-dark. Renaissance and Baroque painters like Caravaggio and Rembrandt used strong contrast between light and darkness to model faces and create drama. The figure emerges from a black background, lit from one side. In chiaroscuro photography you do the same thing: one light source on the subject, and a background that falls away into shadow.
In portrait photography and portraiture, people still name a lighting setup after Rembrandt. In Rembrandt lighting, the key light comes from high and to the side, and a small triangle of light appears on the cheek in shadow. You can find it on the street when a person faces a low sun coming from the side, or light from a doorway.
The inverse square law (physicists write it as the inverse-square law) explains why this works so well when shooting portraits in natural light. Light falls off fast with distance. If your subject stands at the edge of a shaded area with light on their face, the background just a few steps behind gets much less light and goes dark. I use this for street portraits: find a spot like under a bridge, put the person right at the edge of the light, and the background drops to black by itself. If you can't find that spot, you can darken the background later in Lightroom.
Studying light the way painters used it is one of the fastest ways to see better. One bonus in my course looks at light in Renaissance paintings for exactly this reason.
Camera settings for shadow photography
Your camera wants to make everything medium grey. When the frame is mostly shadow, it will brighten the shadows and blow out the light. You need to overrule it.
- Expose for the highlights. Use exposure compensation of about -1 to -2 stops, or spot meter on the lit area. Let the shadows go black.
- Low ISO. In hard sun you have plenty of light. Keep ISO at base for clean blacks.
- A fast shutter speed. 1/500s or faster freezes walkers as they cross the light.
- f/8 and zone focus. Pre-focus on the patch of light so you are ready the moment someone steps in.
- Shoot RAW. You can recover a little detail in the darker areas if you need it and push the contrast in editing.
A wide-angle lens stretches long shadows and fits a whole cityscape of light and shade. The resulting images feel deep. A longer lens lets you isolate a small patch of light from across the street. My full street photography settings guide covers the rest.
Shadows in photography: black and white vs color
Black-and-white removes the decoration of color and leaves only brightness. Light and shadow become the whole picture, which is why so many shadow photos are monochrome. But you lose contrast too: a red coat against green leaves turns into grey on grey. Train yourself to see in brightness values, and put your screen in black and white while you shoot if your camera allows it.
Color works as well, especially with warm low sun against cool blue shadows. At night the rules change: shop signs and street lamps throw light of different colors, and those color contrasts can be as strong as light against dark.
Photographers who mastered light and shadow
Study these photographers and you'll learn more about shadows than from any tutorial. Don't copy their pictures. Look at how they placed people in relation to the light.
- Fan Ho built 1950s and 1960s Hong Kong into stages of light shafts and diagonal shadows, then waited for a figure. His Approaching Shadow is the classic example. See my notes on Fan Ho.
- Trent Parke photographs the harsh Australian sun as a subject in its own right, with figures cut out by deep shadow.
- Ray Metzker pushed city light to extremes, with people reduced to small shapes inside huge areas of black.
- Alex Webb works in color with hard tropical light, stacking shadow and color around people in one frame.
- Vivian Maier often worked her own shadow into the frame, turning a self-portrait into a shape on the pavement.
You'll find more masters and the one lesson to steal from each in my guide to street photographers.
Learn to see light before you press the shutter
Most photographers walk past great light because they are looking for subjects. Flip it. Look for the light first and the subject second. The creative use of shadows starts with noticing them. Once you notice how shadows form when the sun hits a building at a certain hour, you start expecting pictures before they happen. My street photography course covers how to make the most of any time of day, and light is a big part of that. If you want the full framework behind these tips, start with my guide to photography composition.
Frequently Asked Questions
How do shadows enhance a photo?
Shadows add depth by showing where the light comes from and how objects sit in space. They create contrast, which pulls the eye to the lit subject. They can also add mood and mystery, because the viewer fills in what the dark areas hide. Strong shadows can even act as lines or frames that organize the whole composition.
When is the best time to shoot shadow photography?
Early morning and late afternoon, when the sun is low and shadows stretch long. Golden hour adds warm color on top. Midday light is harder and shadows are short, but it still works in cities where tall buildings cast large shadows and leave slices of light on the street. Overcast days give soft light and almost no shadows.
What camera settings are best for shadow photography?
Expose for the highlights so the shadows go dark: dial in about -1 to -2 stops of exposure compensation or spot meter the lit area. Keep ISO low, use 1/500s or faster to freeze people, and set around f/8 with zone focus so you are ready when someone steps into the light. Shoot RAW to keep options in editing.
What are the different types of shadows in photography?
Photographers usually separate form shadows, the dark side of an object facing away from the light, from cast shadows, which fall on another surface. Shadows are also described as hard or soft. Hard shadows have crisp edges and come from small or distant light like direct sun. Soft shadows fade gradually and come from large light like an overcast sky.
How do you photograph a silhouette?
Put your subject between you and a bright background, such as a window or the sky. Expose for the bright background so the subject turns black. Choose a clear side profile with space between arms and body so the shape reads. Keep the background simple, because a silhouette only works when its outline is clean.