
A good photography challenge gives you one small constraint per day, so you shoot even when you don't feel inspired. The 30-day challenge below does exactly that: one street photography prompt a day, each one doable in about 20 minutes with any camera, including a phone.
I'm Olivier Duong. I've had plenty of days where I came home with nothing, and one Reddit photographer described the problem better than I could: "I want to make street photography a habit and a hobby of mine, but I constantly get stuck in the excuses." A challenge removes the excuses. You don't have to decide what to shoot. You only have to show up. This challenge is a free extra from this site. It isn't part of our course.
Why a daily challenge works
Creativity grows when you limit it. It sounds backwards, but too many options cause choice paralysis. "Go out and shoot something good" is a hard brief. "Only shadows today" is an easy one. Your brain loves a clear problem and starts solving it on its own, even before you leave the house. You stop waiting for inspiration.
The daily part matters as much as the prompt. When you shoot in the same place at the same time, your mind starts switching into picture mode as soon as you get there, a bit like Pavlov's dog hearing the bell. Thirty days is long enough for that habit to start forming and short enough to finish.
Photography challenges come in other formats too. The 52 week photography challenge gives you one theme per week for a year, and the 365 project asks for one photo a day for a year. Online communities like 52Frames run weekly versions. Thirty days is a good first step before you commit to a year. If you want a longer menu of exercises to pick from, see 50 street photography ideas.
The rules
- One prompt per day. Ignore everything else. If you see a great shot that doesn't fit, take it, but keep hunting for the prompt.
- Twenty minutes counts. Your commute or your lunch break is enough. Street photography doesn't start when you arrive somewhere; it starts on the bus.
- One camera, one lens, all month. A phone is fine. Don't zoom. Move your feet instead.
- Keep one frame per day. Put it in a folder called "30 days". Don't delete the rest.
- Bad days count. Some days you'll come home with nothing. That's normal, like a gold prospector who only finds nuggets now and then. A bad day is still a day done.
- Don't post for likes during the month. Likes measure popularity, not progress. Share at the end if you want.
Week 1: Light (days 1 to 7)
Photography means painting with light, so start there. This week trains you to see light before subjects.
- Shadows only. Photograph shadows, not the things that cast them.
- Silhouettes. Put a person or object against a bright background and expose for the bright part.
- One light source. Find a single shaft of light, like sun between buildings or a lit shop window, and wait for someone to step into it.
- Golden hour. Shoot only in the hour before sunset. Notice how the low sun stretches every shadow.
- Night. Stick to light like a fly: street lights, neon signs, vendor stalls, shop windows. Raise your ISO and don't worry about noise.
- Reflections. Puddles, shop windows, mirrors, car doors. Windows that half reflect and half show what's inside make the richest frames.
- Review day. Look at the week's photos. Pick your two best and write one sentence about why each works.
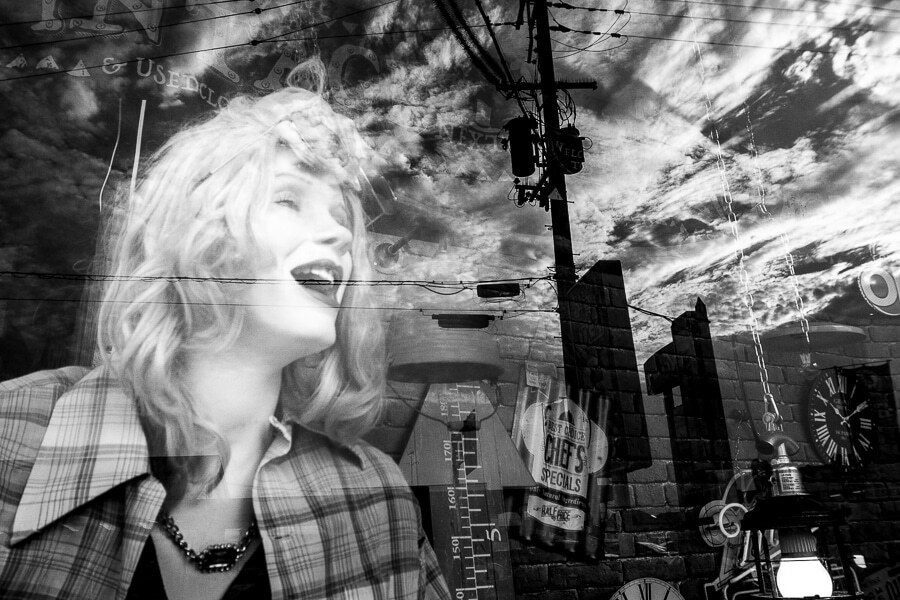
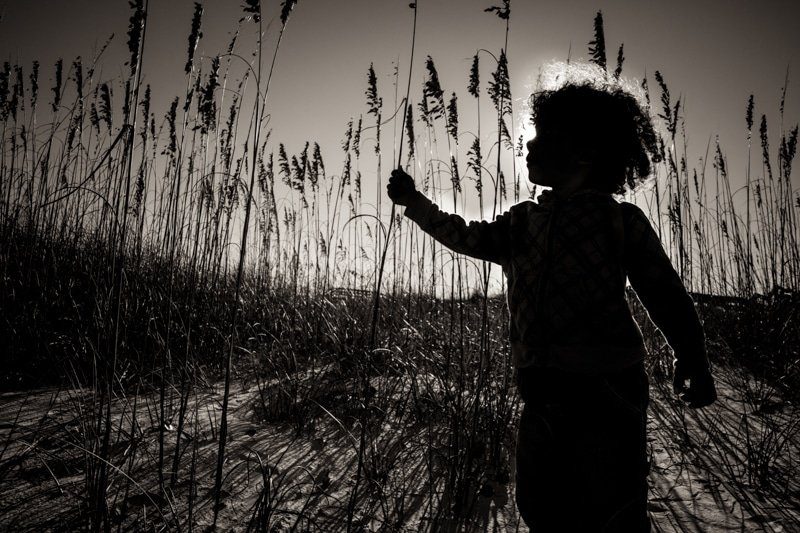
More on this in light and shadow photography and night street photography.
Week 2: Composition (days 8 to 14)
This week gives you the building blocks of composition, one per day.
- Leading lines. Find lines that point to a spot, then wait for a person to walk into it.
- Frame within a frame. Shoot through doorways, arches, windows or gaps between people.
- Layers. Get something close to the lens and something far away in the same frame, both telling part of the story.
- Repetition. Look for repeated shapes: matching clothes, a row of umbrellas, windows on a facade, fence posts.
- Negative space. Make the subject small and let empty space fill most of the frame.
- Low angle. Shoot every frame from knee height or lower. The street looks completely different down there.
- One color. Photograph only red things. Red is the color that grabs the eye first.
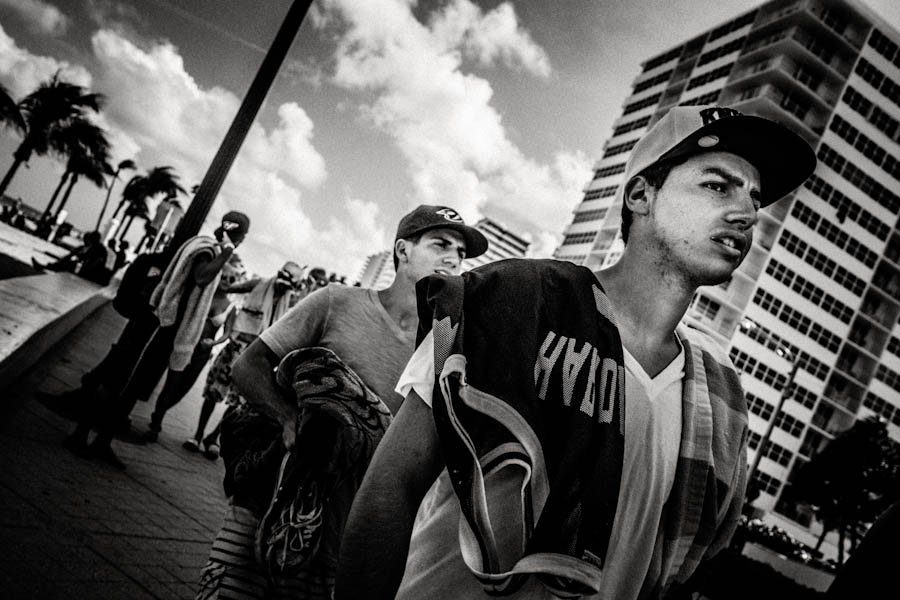
Each of these has its own guide: leading lines, framing, layering and negative space.
Week 3: People and moments (days 15 to 21)
Now add people. Go at your own pace; managing nerves is part of the exercise.
- Hands. Photograph only gestures: hands holding, pointing, counting money, lighting a cigarette.
- The commute. Shoot only on public transport or at the stop. Buses and trains are full of characters.
- One corner, one hour. Stand in one good spot with good light and let the scene come to you. Patience is the lesson.
- Juxtaposition. Find two things in one frame that contradict or comment on each other, like a sign and the person under it.
- Ask one stranger. Ask one person for a portrait. Just one. It's the day furthest outside your comfort zone. A "no" still counts as a completed day.
- From behind. Tell a story without faces, through posture and what people carry.
- Review day. Compare this week's best frames with week 1. Look for what changed in how you see.
If day 19 scares you, read how to photograph strangers and how to overcome fear of street photography first. For day 18, see juxtaposition photography.
Week 4: Constraints (days 22 to 30)
The last stretch tightens the limits and ends with editing, which is where a month of shooting turns into a body of work.
- 36 frames. Allow yourself one roll of film's worth of shots. Every press of the shutter has to count.
- One street. Shoot a single block for the whole session. When the novelty wears off, your real seeing starts.
- Your home as a foreign city. Photograph the inside of your house the way a tourist would.
- Details and textures. Rust, peeling paint, worn handles, cracked walls. Fill the frame.
- No people. Show that humans were there without showing a human: a chair left out, a glove on a fence.
- Motion blur. Set a slow shutter speed like 1/15s and let moving people smear against a sharp background.
- Black and white only. Set your camera or phone to monochrome so you see in tones, not colors.
- Revisit your archive. Go through photos from a year or more ago. You'll find good frames you missed the first time.
- Edit the month. From your "30 days" folder, pick the best ten and print them small. Then remove the weakest until only the strong ones remain.

For the last two days, how to edit street photography covers processing and street photography hit rate covers picking keepers.
How to keep going when you want to skip a day
You'll want to quit around the second week. These are the excuses I hear most, with my answer to each:
- "I don't have time." Shoot the commute or your lunch break. Twenty minutes is the whole requirement.
- "There's nothing to shoot here." Imagine how a foreigner would be excited to shoot where you are. Then read street photography in a small town.
- "The weather is bad." Rain gives you reflections and umbrellas. See rain photography.
- "My photos are getting worse." Complacency is the enemy, not bad days. Revisit day 7 and see how far you've come.
- "I forgot my camera." Use your phone. Charge your battery the night before and keep the camera by the door.
If you've been stuck for weeks rather than days, read photography creative block or the street photography plateau.
After day 30
Don't stop cold. Drop to a lighter rhythm, like one prompt per week, and start a longer project. It helps to keep a few projects going at once so there's always something to work on. A month of daily shooting often reveals a theme you didn't know you had. That theme can become a photo essay or a small photo zine.
The prompts above are a starting point. In our online street photography course, every module comes with a cheat sheet and email exercises, plus an "Image Quest" cheat sheet you download to your phone so you always have picture patterns to look for when you're out. For the basics behind the prompts, the street photography for beginners guide is the place to start.
Frequently Asked Questions
What is a good photography challenge?
A good photography challenge gives you one small, clear constraint at a time, like only shadows, only reflections, one color or one street for a whole session. It should fit into 20 minutes so you can do it on busy days. Daily prompts for 30 days are a good start before you try a 52 week or 365 day project.
What is a 52 week photography challenge?
A 52 week photography challenge gives you one theme or technique each week for a year, such as golden hour, night, self portrait or leading lines. You shoot and pick one photo per week. It's slower than a daily challenge, which suits people with little free time, and communities like 52Frames run weekly versions.
Can I do a photography challenge with a phone?
Yes. Every prompt in this 30-day challenge works on a phone. Use the main camera lens rather than zooming, tap on your subject to set focus and exposure, and switch to a monochrome mode for the black and white day. The point is the habit of seeing, not the gear.
How do I stay consistent with a photography challenge?
Tie it to something you already do every day, like your commute or lunch break, so you never need a special trip. Keep the bar low: 20 minutes and one kept frame counts as done. Accept bad days as part of it, and review your photos weekly so you can see your progress.
What are photography prompts?
Photography prompts are short assignments that tell you what to look for, like shadows only, one color, a frame within a frame or hands and gestures. They work because a narrow brief focuses your attention. You notice far more when you hunt for one thing than when you wander looking for anything interesting.