
A photo zine is a small, self-published booklet of your photographs, printed in a short run and usually stapled. To make one, choose 12 to 24 images around one idea, sequence them in pairs across facing pages, lay them out, then print and staple the booklet at home or order copies from an online printer.
I'm Olivier Duong. For years I edited and sequenced the pictures in Inspired Eye, the magazine I made with Don Springer, so putting street photos on paper is something I've done many times. I think a zine is the best first project for a street photographer. You don't need a website or a gallery. You need a handful of strong pictures and a stapler.
What is a photo zine?
A photo zine, or photography zine, is a self-published booklet of images, sometimes with a little text, made cheaply and in small numbers. The word comes from magazine by way of fanzine. Science fiction fans were making fanzines in the 1930s, and in the 1970s punk scenes turned photocopied, stapled zines into a culture of their own.
Today "zine" covers anything from a folded single sheet to a perfect bound booklet that looks almost like a photo book. The difference is mostly attitude. A photo book aims to be the final word on a body of work. A zine is closer to a sketchbook, cheap and allowed to be a work in progress.
Street photographers have a long history with the format. Daido Moriyama launched his self-published magazine Record in 1972, put out five issues through 1973, and revived it in 2006. You don't need to be Moriyama to do the same thing at your own scale.
Why make a zine from your street photos
A zine turns a folder of loose shots into something finished. That alone changes how you see your work.
- It forces you to edit. A 24-page zine has room for maybe 20 photos. Choosing them teaches you more about your own work than a year of posting.
- Paper tells the truth. A weak photo that looks fine on a phone looks weak on a printed page. You see which pictures really hold up.
- You don't need a platform. One photographer on Reddit wrote: "At the moment I don't have a website because I don't yet feel experienced enough to build one." A zine skips that problem. It is small enough to finish and humble enough that nobody expects a masterpiece.
- People keep it. Nobody remembers a post from last month. A zine sits on a shelf and gets read again.
Likes and followers are a poor judge of your work. A printed sequence is a much better one, because you see every picture next to its neighbours.
How to make a photography zine, step by step
- Pick one idea. A place, a time of day, a recurring subject or a single roll of film. One idea holds a zine together.
- Gather candidates. Pull every frame that could fit, usually 50 to 100.
- Edit down to 12 to 24. Keep the strongest and cut anything that repeats.
- Sequence in spreads. Decide which photos face each other and in what order.
- Choose a format. Size, page count, paper and binding.
- Lay it out. Place the images and a cover in layout software, then export a PDF.
- Print a proof. Print one copy at home, live with it for a few days, then fix what bothers you.
- Print and bind. Staple at home or order a short run from a printer.
Choosing the photos for your zine
Start with more photos than you need and cut hard. The first edit is where most zines succeed or fail.
Editing your own work is hard because of what I call the curse of knowledge. You remember what it took to get the shot, so you overrate it. When I edited for the magazine, about 80% of a selection was my own call, but some photos always slipped under my radar or got more credit than they deserved. So get a second pair of eyes you trust. Being from Haiti, I once passed over a photo of people carrying loads on their heads because it looked normal to me. A friend pointed out it was far more interesting than I thought.
Keep your intent in mind while you cut. You can have plenty of good photos that still don't belong, because they say something different from the rest. Park them in a folder for the next zine. That is often how the next project starts.
Then remove near duplicates. If two frames show the same thing, keep the stronger one. If you struggle to find 12 photos you believe in, read street photography hit rate. It is normal to keep only a few frames a month.
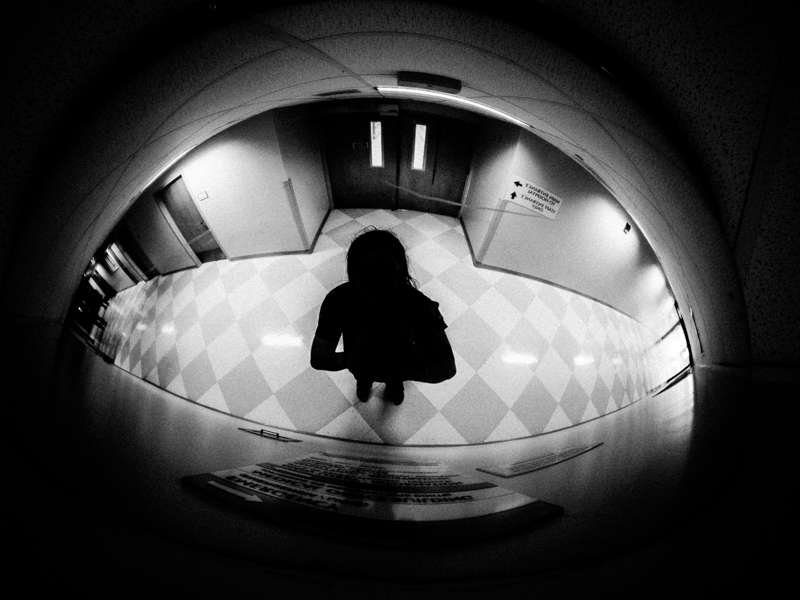
How to sequence a zine in spreads
In a zine, the unit is the spread, two facing pages, not the single photo. Readers see two pictures at once, so every pair has to work together.
I start with the opener and the closer. The opener must be strong enough to pull people in, and the last photo has to be strong because people remember the end best. Then I find one more strong image for the middle, where attention always drops. Everything else supports those anchors.
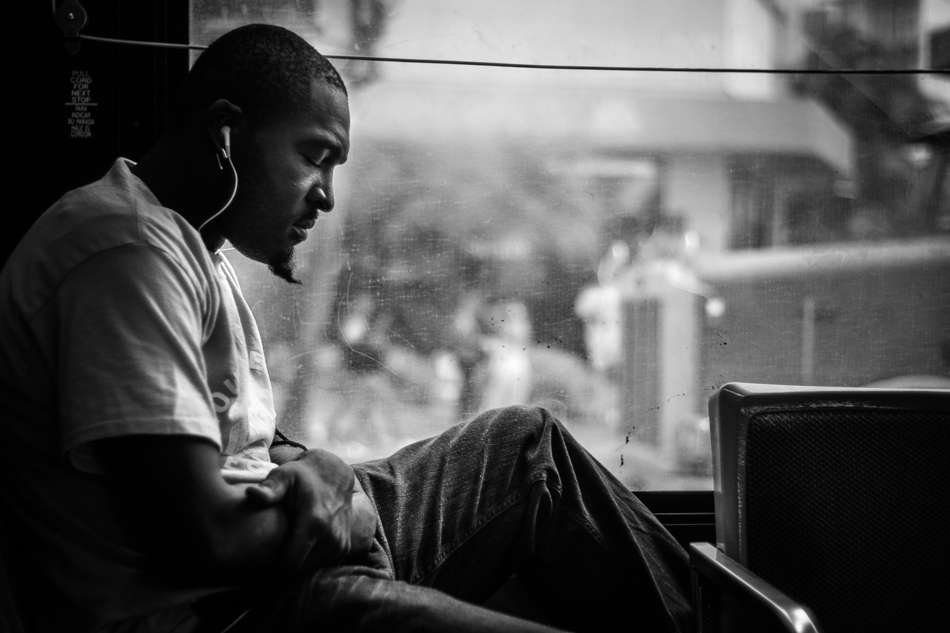
Then I pair photos by what they share. These links are the ones I use most:
- Location. A man asleep on the sand faces a crowd on the same beach.
- Time. The same street at noon, then at night.
- Numbers. One person carrying a load, then two.
- Visual weight. A small figure in the frame, then a bigger one, so the eye moves in.
- Shape and orientation. Verticals with verticals, or a strong diagonal answered by another.
When two groups of photos don't connect, find a transition image that has something of both, the way a film cuts from one city to the next with a shot of a plane. And break the rule when the subject calls for it. A harsh jump between two unrelated spreads can say more than a smooth one.
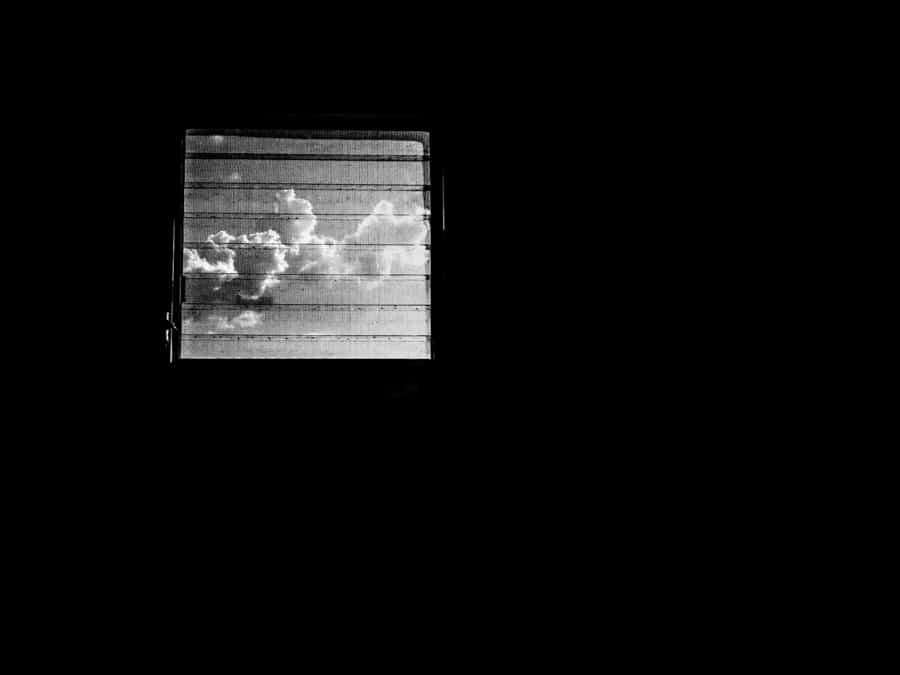
I like to end on an open, ambiguous image, such as an empty sky or a figure walking out of frame. It leaves the reader without closure, so the zine stays in their head. My full sequencing method, with examples from the magazine, is in how to make a photo essay.
Zine format: page count and paper
For a first zine, go for a stapled booklet around A5 (148 x 210mm) or US half letter (5.5 x 8.5 inches), with 16 to 32 pages including the cover. It is cheap to print and easy to post.
- Page count comes in multiples of four. A stapled zine is made of folded sheets, and each sheet gives you four pages. So you design 12, 16, 20, 24 or 28 pages, never 18.
- Saddle stitch or perfect binding. Saddle stitching means staples through the fold. It suits zines up to about 40 to 50 pages. Past that, a printer can glue the pages into a flat spine, called perfect binding, which looks more like a book.
- Paper. Uncoated paper gives a soft, matte look that suits black and white and grainy film scans. Silk or satin paper holds more contrast and colour. Ask your printer for a sample pack before you decide.
- Weight. Heavier paper feels better but costs more to post. Matt Murray of Matt Loves Cameras found his first zine was heavier than the printer's estimate and too expensive to ship abroad, so he reprinted on lighter paper. Weigh a proof before you order a run.
The smallest option is the 8-page mini zine folded from a single sheet of paper with one cut. It is a great way to test a sequence in an afternoon.
Laying out your zine
You can lay out a zine in Adobe InDesign, Affinity Publisher, the free Scribus, or Canva. InDesign is the industry standard but costs a subscription. For a simple photo zine with one image per page, any of them works.
Keep the layout quiet. Street photos need space around them, so use generous white margins and avoid putting type over the pictures. A few layout choices help:
- Set up the document at your final size, with bleed if any image runs to the edge of the page. Your printer will tell you how much, usually around 3mm or 1/8 inch.
- Don't run a photo across the fold in a stapled zine. The staples and the curve of the paper will swallow the middle of the image.
- Convert and check colour. Screens show RGB and printers use CMYK. Colours can look duller after conversion, so export a PDF early and adjust images that go flat.
- Keep text minimal. A title, your name, a date and maybe one short paragraph. Let the photos talk. Captions can go on a single list at the back.
Edit your images for print before you place them. Prints usually need a little more brightness than a screen suggests. My street photography editing guide covers the basics.
How to print a photo zine: home or printer
Photography zine printing comes down to two choices: print it yourself or send it to a printer. Start at home for your proof, then decide.
- Home printer and a long-reach stapler. The cheapest way to make ten copies of a handmade zine. Print double sided, then fold and staple. A long-reach stapler reaches the middle of the fold.
- Copy shop or risograph studio. Photocopied black and white has the classic zine look. Risograph printing gives rich, grainy ink that suits film scans.
- Online short-run printers. Mixam prints and binds zines to order. You buy a stack and send them yourself. Matt Murray suggests around 25 copies as a sensible minimum before the price per copy drops.
- Print on demand. Blurb and MagCloud print one copy at a time when someone orders, so you carry no stock. You pay more per copy, and you lose the personal touch of posting each one yourself.
Newspaper Club prints on newsprint in larger formats, which suits big, loose street photos and costs little per copy in larger runs.
Photography zine ideas for street photographers
The best zine ideas are narrow. A tight idea makes editing easier and gives the reader a reason to turn the page.
- One street. Shoot the same block for a season.
- One hour. Golden hour, lunch rush, the last train.
- One camera or one roll. Every frame from a single roll of film, good and bad, as a contact sheet zine. I once planned a project called 110 Japan, shooting on a tiny Pentax Auto 110 and showing whole film strips. If you shoot film, see film street photography.
- One subject. Hands, hats, umbrellas, people waiting. Anil Mistry, mentioned in Matt Murray's zine guide, published a book of mattresses left at the side of the road.
- One trip. A zine from a single city is a natural fit for travel. The best street photography locations list has ideas.
More starting points are in street photography ideas. For photography zine examples, look at Moriyama's Record, browse the zines at an art book fair such as the New York Art Book Fair run by Printed Matter, or search for zines made by photographers whose work you like and buy a few. Holding someone else's zine teaches you more about size and paper than any guide.
Sharing your zine
A zine is made to be handed over. Give copies to the people who appear in it if you can find them, trade with other photographers, post copies to friends, and bring a few to photo walks and zine fairs. Put a PDF online if you like, but the printed object is the point.
Once you have made one, the next steps are a bigger series or self-publishing a photo book. A photo essay is the natural next project. When you want a place to show the finished work online, build a photography portfolio.
Where my course helps
A zine is only as good as the photos in it and the order you put them in. My street photography course, Phototactic, includes a recorded shooting demonstration that covers how to cull your images to show only your best, and the science behind sequencing your images. The core lessons are about composition and emotion, so you have stronger frames to choose from in the first place. It doesn't cover publishing or selling zines, and it doesn't include feedback on your own photos.
Frequently Asked Questions
How many pages should a photo zine be?
A first photo zine works well at 16 to 32 pages including the cover, with 12 to 24 photos. Stapled zines are made from folded sheets, so the page count must be a multiple of four. Fewer, stronger pages beat a thick zine padded with average frames. Saddle stitching suits up to about 40 to 50 pages.
How much does it cost to make a photo zine?
A home-printed zine costs little more than paper and ink, plus a long-reach stapler. Short runs from online printers get cheaper per copy as the quantity grows, so 25 or more copies is often the point where the price drops. Print on demand services cost more per copy but need no upfront stock.
What is the difference between a zine and a photo book?
A zine is a small, cheap self-published booklet, often stapled and printed in short runs. A photo book is usually larger and bound like a book, meant as a finished statement on a body of work. The line is blurry. A zine is closer to a sketchbook, and it is the easier first step.
What paper should I use for a photo zine?
Uncoated paper gives a soft, matte look that suits black and white and film scans. Silk or satin paper holds more contrast and colour. For inside pages, a medium weight is a good balance between feel and postage cost. Order a sample pack from your printer and weigh a proof copy before ordering a run.
What software do I need to make a zine?
Any layout program works. Adobe InDesign is the industry standard, Affinity Publisher is a one-off purchase, Scribus is free, and Canva is easy for beginners. For a simple photo zine with one image per page, even the book module in Lightroom can do the job. Export a print-ready PDF with bleed.
Do I need an ISBN for a photo zine?
No. You don't need an ISBN to make a zine or sell it directly. An ISBN matters mainly if you want bookshops or distributors to stock it through their systems. Most zine makers skip it, and rules and costs vary by country, so check your national ISBN agency if you plan wider distribution.