
To take better photos with your iPhone, get closer to your subject and lock focus and exposure before the moment happens. The iPhone camera is rarely what holds a picture back. Composition and light are.
I'm Olivier Duong, a street photographer. I've made pictures with a lot of phones over the years, and I've written plenty about their limits. Start with the camera settings you set once and forget. Then build the habits that matter more than any setting.
iPhone photography tips and tricks at a glance
- Turn on the grid and the level in the camera settings.
- Make 28mm or 35mm your default lens on supported models.
- Walk closer instead of pinching to zoom.
- Tap and hold to lock focus and exposure (AE/AF Lock).
- Drag exposure down so bright areas don't burn out.
- Use burst mode for moving subjects.
- Hold the iPhone like a camera and shoot with a button.
- Let Night mode work, but watch moving people.
- Save Portrait mode for portraits.
- Shoot RAW (ProRAW) on Pro models if you edit.
- Look for light before you look for subjects.
- Build one strong composition instead of taking fifty snaps.
Is an iPhone good enough for street photography?
Yes. A phone limits you in low light and at long zoom, not in composition. Many strong street photographs have been made on phones, and a phone has two real advantages on the street: people ignore it, and it's always in your pocket.
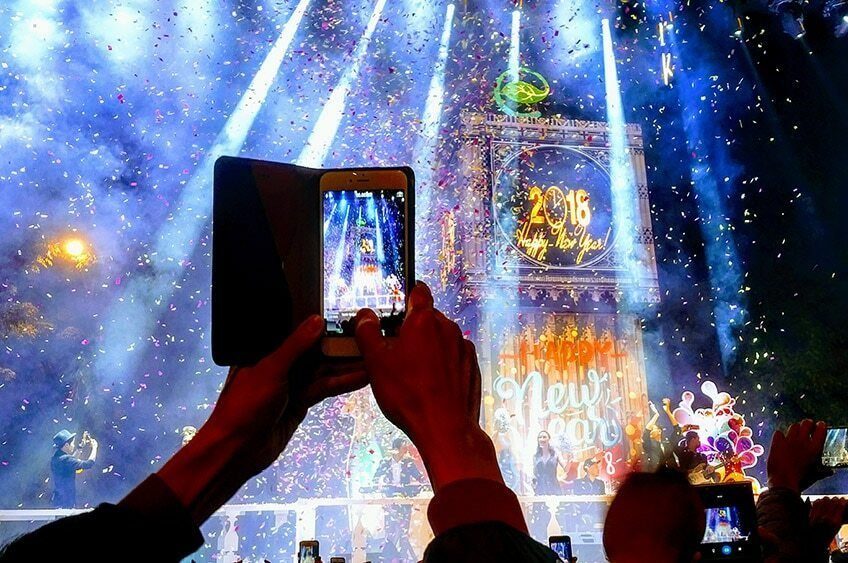
The weak point is handling, not image quality. Years ago I wrote that phones have camera power but not camera handling, and that's still mostly true. You hold a phone with two hands, and the settings live behind the touch screen. Newer iPhones with the Camera Control button help, but a phone is still a phone first.
So work with the phone's strengths. It's quiet, and it doesn't make people nervous. On Reddit, a beginner asked about their dull pictures: "Could it be because I'm using a phone? Is it my editing? My composition or shooting angles?" Almost always, it's the composition. I wrote about that in why your street photos are boring.
Set up your iPhone camera settings once
Open the Settings app, tap Camera, and change these. You only do it once.
- Grid and Level. Turn on Grid. The lines help you keep horizons straight and place subjects using the rule of thirds. The level helps with shots straight down or across.
- Preserve Settings. Tell the camera to remember your exposure adjustment and Photographic Style instead of resetting each time you open Camera.
- Prioritize Faster Shooting. This one is on by default. It lets you capture more photos when you tap the shutter button quickly. Leave it on.
- Main camera lens. On supported models, the 1x Main camera is 24mm by default. Under Main Camera (or Fusion Camera) you can add 28mm and 35mm and make one of them the default. For street photography I'd pick 28mm or 35mm. They look more natural than 24mm and distort faces less at the edges.
- Formats. On Pro models, turn on ProRAW (called ProRAW & Resolution Control on newer iPhones) if you plan to edit. Leave it off if you post straight from the phone. RAW files are big.
Apple documents all of these in its iPhone User Guide. Menu names shift a little between iOS versions and iPhone models.
Get closer instead of zooming
The quickest way to improve your iPhone photos is to walk closer. Pinch zoom crops the picture, and past a lens's native range you lose quality fast. The main camera has the biggest sensor on the phone, so it gives the best image quality, especially indoors and at night.
Most iPhone models have more than one lens. The Ultra Wide is great for tight streets and architecture, but it stretches people near the edges. Pro models add a telephoto: on the iPhone 17 Pro, for example, it's a 48MP 100mm (4x) camera. Earlier Pro models used a 3x telephoto (the iPhone 13 Pro, iPhone 14 Pro and iPhone 15 Pro), and the iPhone 15 Pro Max and iPhone 16 Pro moved to 5x. Use the tele for details and faces across the street. For everything else, use the main camera and your feet.
Pro models since the iPhone 13 Pro also do macro photography: move close to a small subject and the phone switches to the Ultra Wide lens to focus a few centimeters away. Fun for textures and signs, less useful on the street.
Getting close also simplifies the background. Fewer elements in the frame means a clearer picture. That's the idea behind negative space and it works on a phone as well as a Leica.
Lock focus and exposure before the moment
The iPhone camera app sets focus and exposure automatically, and it changes them constantly. When someone walks into your frame, the phone may refocus on the wrong thing just as you press the shutter.
Fix it with AE/AF Lock. Tap the screen where you want focus, then touch and hold until you see "AE/AF Lock". Next to the focus box, drag up or down to adjust the exposure. Now you can wait for the person to step into the spot. This is the phone version of pre-focusing, and it's how I'd work any street scene with an iPhone.
On models with the Camera Control button, you can do the same without touching the screen. In Settings, go to Camera, then Camera Control, and turn on Lock Focus and Exposure. A light press and hold locks AE/AF, and a click takes the photo.
Expose for the bright parts
Phones handle dark areas well thanks to computational photography, which blends several frames into one. What they still struggle with is very bright light: a white shirt in the sun or a bright window. Once a highlight is pure white, there's nothing left to recover.
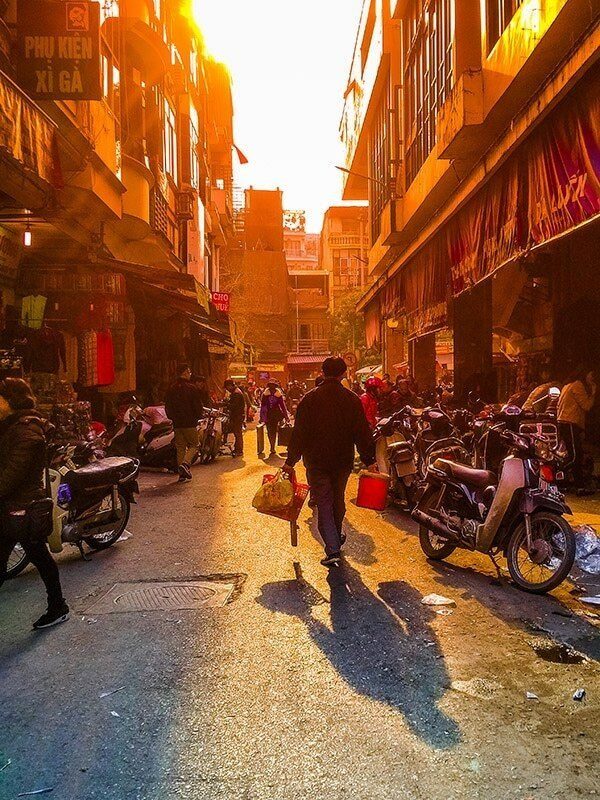
When the scene has strong sun and shadow, drag the exposure slider down a little. Let the shadows go dark. Hard light with deep shadows makes some of the best street pictures, and it's easy to ruin by brightening everything. My guide to light and shadow photography goes deeper.
Use burst mode and Live Photos for moving subjects
Timing is everything in street photography, and phones have a little shutter lag. Burst mode helps. In the Camera app, swipe the shutter button to the left and hold. The iPhone takes photos in rapid succession until you lift your finger. You can also press and hold the volume up button if you turn on Use Volume Up for Burst in Settings, under Camera.
Afterwards, open the burst in the Photos app and keep only the frame where the step, the gesture or the glance is right. Delete the rest. A burst is a tool for getting the timing, not an excuse to keep forty near-identical pictures.
Live Photos records a moment before and after the shot. In the Photos app you can pick a different key frame, or apply the Long Exposure effect to turn moving water or crowds into a smooth blur. It's a fun way to try motion blur without a tripod.
Hold your iPhone like a camera
Hold the phone with two hands and press the shutter with a button rather than a tap on the glass. The volume buttons work as a shutter. On newer iPhones, the Camera Control button does too. Pressing a physical button shakes the phone less and lets you watch the scene instead of hunting for the on-screen shutter.
Keep the camera one swipe away. From the Lock Screen, swipe left to open the camera app without typing your passcode. The shot you see lasts a second or two, and a phone in your pocket with Camera ready is faster than any camera in a bag.
Low light and Night mode
Night mode turns on by itself in low light. It keeps the shutter open longer and merges several frames, and the yellow icon shows how many seconds it will take. For a still street at night, hold the phone steady against a wall or a pole and let it work.
For people, it's trickier. A longer exposure means a moving person blurs. You can tap the Night mode icon and set the timer shorter or turn it off. Or find a patch of light, a shop window or a street lamp, and put your subject in it. My night street photography guide has more on this, and the exposure triangle explains why low light forces a trade between blur and noise.
Third-party camera apps and RAW
The iPhone's built-in camera app decides shutter speed and ISO for you. Most of the time that's fine. When it isn't, a third-party app from the App Store such as Halide or Pro Camera by Moment gives you manual control, closer to a mirrorless camera or a DSLR. You can set a fast shutter speed so a moving person stays sharp, and let the ISO rise.
RAW files (Apple ProRAW on Pro models) keep more data than a JPEG or HEIF, so you can recover highlights and set white balance later. The cost is file size and editing time. If you post straight to Instagram, shoot normal photos with a Photographic Style you like. If you edit on a computer, shoot RAW.
Leave the frame rate and video settings alone unless you take a video. They don't affect your photos.
Portrait mode: for portraits only
Portrait mode uses depth information to blur the background. It looks great on a friend standing still. You can even adjust the amount of blur afterwards, and turn it off if you change your mind.
For street photography, skip it. It slows the camera down, and it can make mistakes around hair and glasses. Background blur also removes the context that makes a street photo interesting. Where someone is matters as much as who they are.
Composition beats every iPhone setting
Every tip above helps you take great photos in the technical sense: sharper and better exposed. None of them makes a more interesting one. That part is composition and timing, and it works the same on any camera.
- Look for light first. Natural light does more for an iPhone photo than any setting. Walk the side of the street where the light is. Then wait for a person to step into it.
- Use the rule of thirds as a start, not a law. The grid helps you avoid centering everything. Once that's a habit, break it on purpose.
- Clean up the edges. Before you press the shutter, check the four corners for poles or half a stranger.
- Layer the frame. Put something close to the lens and something far behind it. See layering in photography.
- Frame your subject. Doorways and windows make natural frames. See framing in photography.
The full picture is in my photography composition guide.
Edit lightly, then stop
The Photos app has everything most people need. Straighten, crop, lower highlights, add a little contrast. Photographic Styles on newer models let you set a look before you shoot, so your photos and videos come out consistent without editing each one.
Avoid heavy filters. They make every photo look the same, and a strong image doesn't need them. If you want a full workflow, including black and white, see how to edit street photography.
When should you upgrade from an iPhone?
Upgrade when you can name exactly what the phone stops you from doing. For most people that's shooting moving people at night, or needing a real viewfinder. A small camera like a Ricoh GR or a Fujifilm X100VI fixes those. My best camera for street photography guide compares them.
If your photos are sharp but still flat, a new camera won't help. Training your eye will. That's what Phototactic, my street photography course with Don Springer, is about: short videos on picture patterns, composition, emotion and priming the mind that work with any camera, including the iPhone in your pocket. Start free with street photography for beginners.
Frequently Asked Questions
How do I take professional-looking photos with my iPhone?
Use the main camera and get close instead of zooming. Good light, such as early morning or late afternoon, does more than any setting. Lock focus and exposure by touching and holding the screen, then lower exposure a little so highlights keep detail. Keep the background simple, straighten the horizon, and edit lightly in the Photos app instead of using heavy filters.
What iPhone camera settings should I change?
In Settings, then Camera, turn on Grid and Level and switch on Preserve Settings so your exposure adjustment sticks. On supported models, set the Main camera default to 28mm or 35mm if you prefer a more natural view. On Pro models, turn on ProRAW only if you plan to edit your photos.
Why are my iPhone photos blurry?
Usually the shutter speed was too slow for the light. In dim places the iPhone lengthens exposure, so moving people or shaky hands cause blur. Hold the phone with two hands, press a physical button instead of tapping the screen, find brighter light, and shorten or turn off Night mode when your subject moves. Also wipe the lens.
Is the iPhone good for street photography?
Yes. An iPhone is always with you, and people rarely react to it. Its limits are low light with moving subjects and long zoom. For daylight street photography those rarely matter. Composition and timing decide whether the photo works, and those are skills, not phone features.
Should I use burst mode on iPhone?
Use it for moving subjects where timing matters, like someone jumping a puddle or a cyclist crossing a patch of light. Swipe the shutter button left and hold, or use the volume up button if you turn that option on in Settings. Then keep the one frame with the best moment and delete the rest.