
The exposure triangle is the relationship between the settings that control exposure: aperture and shutter speed decide how much light reaches the sensor, and ISO decides how bright the camera makes that light. Change one and you have to rebalance another to keep the same exposure.
I'm Olivier Duong, and I've shot street photography for well over a decade. Most exposure triangle guides are written for landscapes, where nothing moves and you have all day. On the street your subject walks out of the frame in a second. So this guide explains the triangle with one question in mind: how do I keep a moving person sharp without drowning the photo in noise?
What is the exposure triangle in photography?
Exposure is how bright or dark your photo comes out. It depends on how much light hits the camera sensor, and on how much the camera amplifies what it gets. The exposure triangle is a simple concept in photography that shows how the exposure variables work together to control the amount of light in your picture.
- Aperture is the opening in the lens. A wider aperture lets in more light and gives a shallower depth of field.
- Shutter speed is the exposure time, how long the shutter stays open. A fast shutter speed freezes action. A slower shutter speed lets in more light but shows motion blur.
- ISO is the sensitivity to light, or more exactly how much the camera brightens the signal from the sensor. Higher ISO means a brighter photo from the same light, with more image noise.
Each setting has a job besides brightness, and that side effect is why the exposure triangle matters. Any camera setting that gives you a correct exposure is fine on paper. The best one is the one whose side effects help your picture.
A common analogy: filling a bucket with rain. The aperture is the width of the bucket, the shutter speed is how long you leave it out, and ISO is how far up the bucket you draw the "full" line. A wide bucket fills fast. A bucket left out longer fills too. The analogy breaks down at some point, but it shows why the settings trade against each other.
Stops: the mathematics that makes the triangle work
Photographers measure light in stops. One stop means double or half the amount of light. Every side of the photography triangle moves in stops, which is why you can trade one for another.
| Setting | More light (one stop each) | Less light |
|---|---|---|
| Aperture (f-number) | f/8 → f/5.6 → f/4 → f/2.8 → f/2 | f/8 → f/11 → f/16 |
| Shutter speed | 1/500 → 1/250 → 1/125 → 1/60 | 1/500 → 1/1000 → 1/2000 |
| ISO | ISO 400 → 800 → 1600 → 3200 | ISO 400 → 200 → ISO 100 |
The f-number is a ratio: the focal length of the lens divided by the diameter of the opening. A 23mm lens at f/2 has an opening about 11.5mm wide. That's why a bigger f-number means a smaller aperture, which confuses nearly everyone at first. The full stops go up by roughly 1.4 each time (f/2, f/2.8, f/4) because doubling the area of a circle multiplies its diameter by about 1.4.
These combinations all give the same exposure:
- f/8, 1/250, ISO 400
- f/5.6, 1/500, ISO 400 (one stop wider aperture, one stop faster shutter)
- f/8, 1/500, ISO 800 (one stop faster shutter, one stop higher ISO)
- f/11, 1/125, ISO 400 (one stop smaller aperture, one stop slower shutter)
Same brightness, different photos. The f/5.6 version freezes more motion but has less in focus. The ISO 800 version freezes motion and keeps depth of field, and pays for it with a little more noise. The f/11 version has the most depth of field, but 1/125 won't freeze a cyclist.
Shutter speed first: the street photographer's priority
When your subject moves, shutter speed and aperture are not equal partners. Blur from a slow shutter ruins a photo in a way you can't fix later. So on the street I start with the shutter speed and let the other two follow.
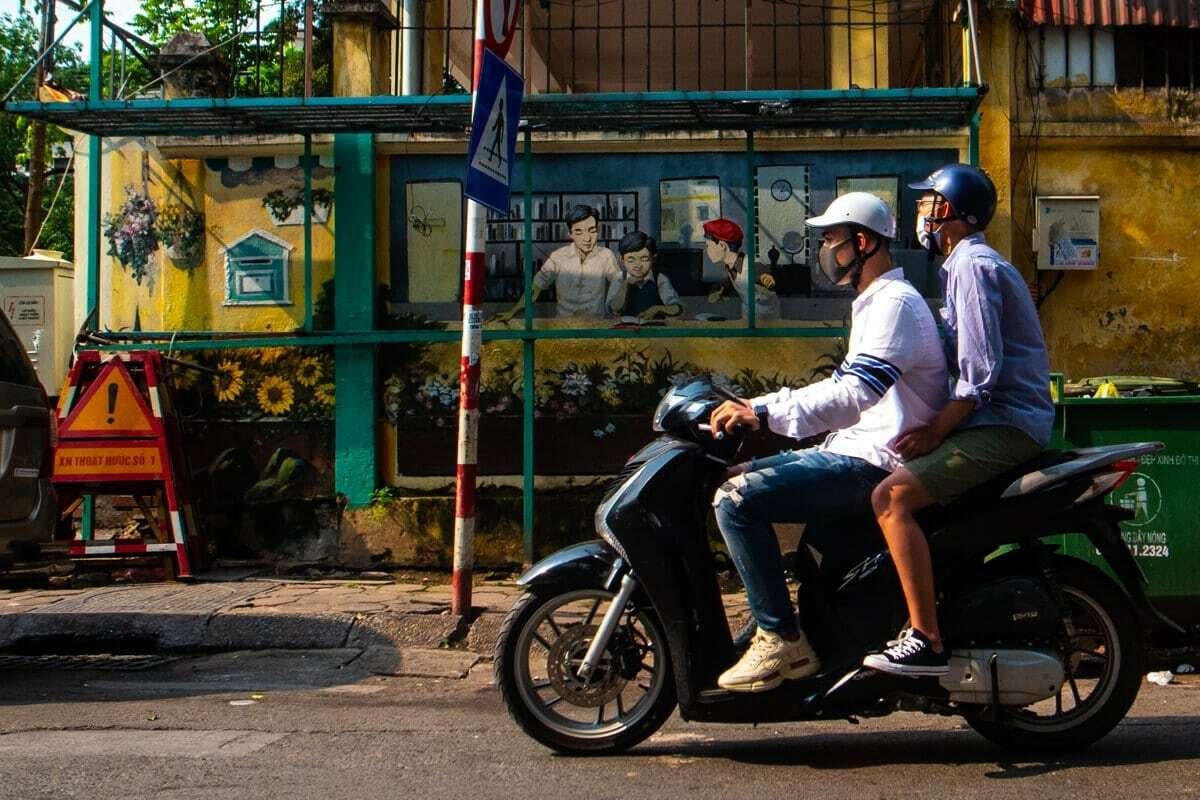
My rule of thumb is 1/125 of a second or faster. Things happen fast in the street, you're often walking when you take the shot, and 1/125 is about the slowest speed where an average walking person and an average walking photographer still come out sharp. For kids running, cyclists or cars, go to 1/500 or faster.
There are two kinds of blur to watch. Camera shake comes from your hands, and a heavy camera or a long focal length makes it worse. Motion blur comes from the subject moving. Image stabilization in the lens or body helps with camera shake. It does nothing for a person walking across the frame. Only a fast shutter speed stops that.
Blur can also be a choice. A slow shutter speed of 1/15 or 1/30 with a panning camera turns a busy street into streaks of movement. Push it further, to a long exposure of a second or more on a wall or a tripod, and you get into light painting territory. That's a creative decision, not a fix for low light, and I cover it in my guide to motion blur photography.
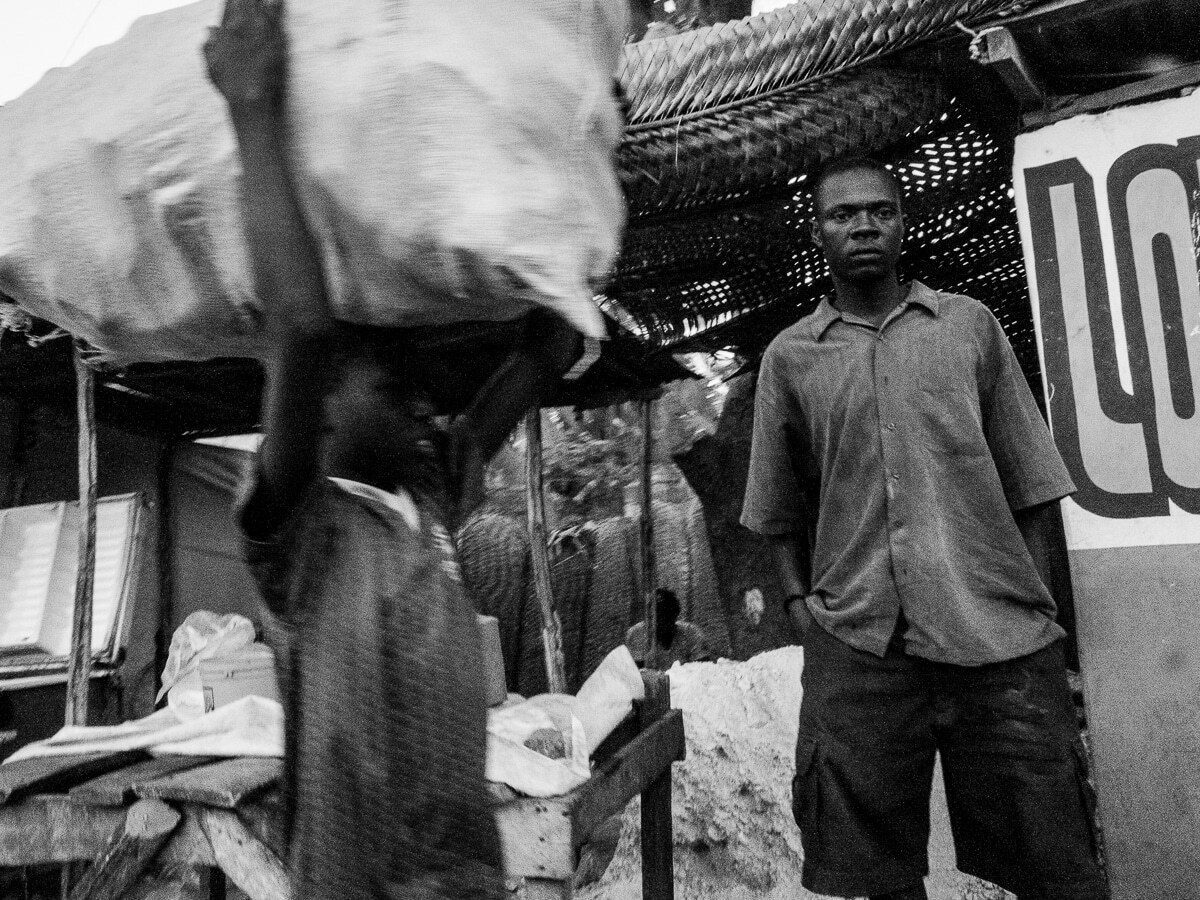
Aperture and depth of field on the street
Aperture controls how much of the scene is sharp from front to back. A wider aperture such as f/1.8 gives a shallow depth of field and a blurry background, the bokeh people love in portraits. A small aperture, or narrow aperture, such as f/8 or f/11 puts most of the scene in focus.
For street photography the default is f/5.6 to f/8. That gives a lot of depth of field, so a subject who moves half a meter is still sharp, and it still lets in enough light for a fast shutter speed. It's also what makes zone focusing work: pre-focus at a distance and everything in a band around it is sharp. There's a reason for the old line "f/8 and be there."
When the light drops, aperture is usually the first thing I open up. Going from f/8 to f/4 buys two stops, which is the difference between 1/60 and 1/250. You lose depth of field, so you have to nail focus. Aperture and depth of field always move together. Focal length and distance change it too: a 28mm lens at f/5.6 gives more in focus than a 50mm at f/5.6 from the same spot.
ISO: the setting that saves the shot
ISO is the side of the triangle you use to pay for everything else. Film speed was a real property of the film. On a digital camera the image sensor doesn't become more sensitive at high ISO. The camera gathers the same photons and brightens the result. That amplification is why a higher ISO shows more noise.
Low ISO, like ISO 100 or 200, gives the cleanest files and works in bright sun. ISO 800 is a normal working ISO for shade and cloudy days. A high ISO like 3200 or 6400 is fine on most modern APS-C and full-frame cameras. Smaller sensors, including most phones, get grainy sooner.
My advice from years of night shooting: when you have to choose between a sharp photo and a clean one, take the grain. Nothing fixes a blurry picture, but anybody can look past grain if the image is there. Noise reduction in editing helps, and black and white hides it well.
Find your ISO ceiling once. Shoot a dark scene at ISO 1600, 3200, 6400 and higher, look at the files on a computer, and decide what you can live with. Then set Auto ISO so it never goes past that number.
How to use the exposure triangle in manual mode
You don't need to shoot in manual mode to understand the exposure triangle. But learning to put the camera in manual mode for a few weeks is the fastest way to feel how the settings trade off. I use this order on the street.
- Set the shutter speed for your subject. 1/125 or faster for walking people, 1/500 for fast action.
- Set the aperture for the depth of field you want. f/5.6 to f/8 for zone focusing, wider when light is low.
- Let ISO fill the gap. Either set it by hand while you watch the meter, or use Auto ISO with a maximum. Manual exposure with Auto ISO is how many street photographers work: you lock the two settings that change the look, and the camera handles brightness.
- Check the histogram. If the graph is jammed against the right edge, you're clipping highlights. Bright skies and white shirts lose detail first. Dial exposure down a third or two thirds of a stop. It's easier to lift a dark shadow than to save a highlight you overexpose.
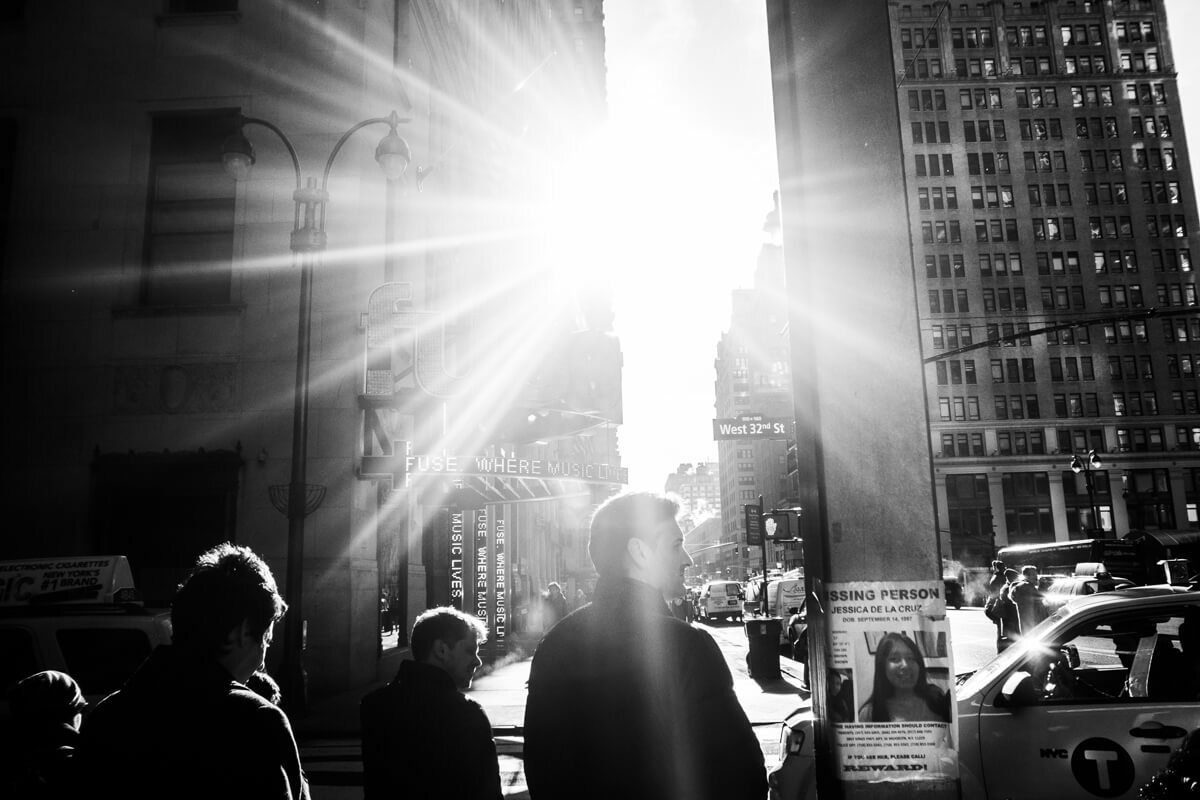
The camera meter wants an average, middle gray exposure. On the street that's often wrong. Backlit people and bright walls fool it. A "correct exposure" by the meter isn't always the proper exposure for the picture. Sometimes you want the shadows black and the light on a face to glow. That's when you override it.
If you'd rather not think about metering at all in daylight, learn the sunny 16 rule. In bright sun, f/16 at a shutter speed of 1 over your ISO gives a good exposure. At ISO 400 that's f/16 at 1/400, or f/8 at 1/1600 once you trade two stops.
Exposure triangle cheat sheet for street photography
These are starting points, not rules. Light changes from one street corner to the next.
| Situation | Aperture | Shutter speed | ISO |
|---|---|---|---|
| Bright sun | f/8 to f/11 | 1/500 or faster | ISO 100 to 200 |
| Open shade or overcast | f/5.6 to f/8 | 1/250 | ISO 400 to 800 |
| Indoors, stations, evening | f/2.8 to f/4 | 1/125 | ISO 1600 to 3200 |
| Night streets | f/1.8 to f/2.8 | 1/30 to 1/60 | ISO 3200 to 6400 |
| Deliberate motion blur | f/8 to f/16 | 1/8 to 1/30 | Lowest ISO |
For night work, find your slowest safe shutter speed first. Shoot a wall at 1/125, then slower, and check each frame for shake. With a large camera I'm good to about 1/30. Your number will differ. My full night street photography guide goes deeper, and my street photography settings page covers focus modes, metering and RAW.
Common exposure triangle mistakes
- Chasing the lowest ISO. People keep ISO 100 and end up at 1/30 with blurred subjects. Raise the ISO. A noisy sharp photo beats a clean blurry one.
- Shooting wide open all the time. f/1.8 looks lovely on a still portrait. On a moving person at arm's length, your focus misses.
- Trusting the meter in contrasty light. Strong sun and deep shade fool it. Look at the histogram and the highlights.
- Letting Auto ISO pick a slow shutter speed. Set a minimum shutter speed in the Auto ISO menu so the camera raises ISO before it drops to a speed that blurs people.
- Thinking settings make the picture. They don't. The technical side is important, but it's plastic. There is no single correct setting for every street, and a well exposed photo of nothing is still nothing.
Get the settings out of the way, then learn to see
Once the exposure triangle clicks, you stop thinking about it, and your attention goes back to the street.
Phototactic, my online street photography course with Don Springer, puts camera settings in a bonus rather than the core for that reason. The Photography Basics bonus teaches how to control the light, and how to work with any camera, because all cameras behave the same way. The core lessons are about what to point the camera at: picture patterns, composition, emotion and priming the mind. If you're just starting, read street photography for beginners next, and if you're choosing gear, see the best camera for street photography.
Frequently Asked Questions
What is the exposure triangle?
The exposure triangle is a model of how the camera's exposure settings work together. Aperture and shutter speed control how much light reaches the sensor, and ISO controls how much the camera brightens it. Change one by a stop and you must change another by a stop to keep the same brightness.
Which setting should I change first?
For moving subjects, set shutter speed first, because blur can't be fixed later. Use 1/125 or faster for people walking. Then pick an aperture for the depth of field you want, usually f/5.6 to f/8 on the street, and let ISO or Auto ISO fill the gap. For still subjects, start with aperture instead.
Is higher ISO bad?
No. Higher ISO adds noise, but it's often the right trade. Most modern cameras with larger sensors give usable files at ISO 3200 and often ISO 6400. A sharp photo with grain is better than a clean photo ruined by motion blur. Find your own maximum by testing, then cap Auto ISO there.
Do I need to shoot in manual mode to use the exposure triangle?
No. Aperture priority and shutter priority both use the same exposure triangle, the camera just picks one side for you. Manual mode is a good way to learn it, though. Many street photographers use manual with Auto ISO: they set shutter speed and aperture, and the camera adjusts ISO to keep exposure right.
Does the exposure triangle apply to phones?
Yes, but the phone hides it. A phone lens usually has a fixed aperture, so the camera changes shutter speed and ISO for you. That's why phone photos of moving people blur in dim light: the phone chose a slow shutter. Third party camera apps let you set shutter speed and ISO yourself.