
Good Ricoh GR recipes for street photography are Travelog and Pushed B&W for the GR IV, and Kodak Chrome or Reggie's Color Negative for the GR III and GR IIIx. The table below lists all six, with each creator's settings copied exactly as published and a link to the source.
I'm Olivier Duong. I've shot Ricoh GR cameras for more than a decade, mostly the GR Digital IV. I haven't tested these recipes for this page, and I won't pretend I have. The recipes belong to the people who made them. Follow the links to see their sample photos before you pick one.
The 6 Ricoh GR IV and GR III recipes at a glance
| Recipe | Creator | Camera | Image Control | Look, in the creator's words |
|---|---|---|---|---|
| Travelog | Ritchie Roesch | GR IV | Positive Film | "Vibrant and warm Kodak-like aesthetic" |
| EktaSlide | Ritchie Roesch | GR IV | Positive Film | "Similarities to classic Ektachrome slide film" |
| Pushed B&W | Ritchie Roesch | GR IV | Hi-Contrast B&W | "Reminiscent of Kodak Tri-X 400 with a red filter" |
| Panchromatic 400 +Red | Ritchie Roesch | GR IV | Hard Monotone | "Generic black-and-white ISO 400 film look" |
| Kodak Chrome | Ritchie Roesch | GR III, GR IIIx | Positive Film | "Classic Kodak slide film aesthetic" |
| Reggie's Color Negative | Reggie Ballesteros | GR III, GR IIIx | Negative Film | A color recipe "for any situation" |
Ritchie Roesch, who also runs Fuji X Weekly, publishes custom JPEG settings for Ricoh GR cameras for free on Ritchie's Ricoh Recipes. His GR IV Starter Collection, published in June 2026, has seven recipes plus a bonus one. He also has a Ricoh Recipes App for Apple and Android, where Patron subscribers get extra recipes. Reggie Ballesteros is a photographer and YouTuber who publishes his recipes on his blog.
What is a Ricoh GR recipe?
A Ricoh GR recipe is a set of in-camera JPEG settings that gives you a finished, straight-out-of-camera look. People also call them JPEG recipes or film recipes. You start from one of Ricoh's Image Control presets, such as Positive Film or Hi-Contrast B&W. Then you adjust saturation, contrast, clarity, grain, white balance and a few more settings, and save the result to a user mode on the dial.
Fujifilm users call this a film simulation recipe. On the GR it's the same idea with different names. If you also shoot Fuji, see my Fujifilm recipes for street photography.
The GR IV adds two new Image Control options, Cinema (Yellow) and Cinema (Green), for a total of 14 image finishes, according to Ricoh's GR IV feature page. Grain, once limited to the monochrome options, now also works with the Film and Cinema options, and you can set the grain size. That's why GR IV recipes have a grain size and intensity line that GR III recipes don't. Highlight Correction and Shadow Correction are the GR's dynamic range settings, and most recipes turn them on.
Travelog (GR IV)
Ritchie Roesch describes Travelog as a "vibrant and warm Kodak-like aesthetic that's great for sunny daylight travel and street photography." It's the first recipe in his GR IV Starter Collection. Source: The Starter Collection on Ritchie's Ricoh Recipes.
| Setting | Value |
|---|---|
| Image Control Effect | Positive Film |
| Saturation | +4 |
| Hue | -1 |
| High/Low Key | +3 |
| Contrast | 0 |
| Contrast (Highlight) | -3 |
| Contrast (Shadow) | +1 |
| Sharpness | -1 |
| Shading | 0 |
| Clarity | -2 |
| Grain | On |
| Grain Size/Intensity | 2 / 2 |
| Highlight Correction | On |
| Shadow Correction | Medium |
| Peripheral Illumination Correction | On |
| High-ISO Noise Reduction | Off |
| White Balance | Cloudy |
| WB Compensation | G:8 B:9 |
| ISO | up to ISO 6400 |
| Exposure Compensation | -1/3 to +1/3 (typically) |
EktaSlide (GR IV)
Ritchie's note on EktaSlide: "Similarities to classic Ektachrome slide film. Highly versatile." It uses the Auto White Priority white balance, one of the two new Auto WB modes on the GR IV. Source: The Starter Collection.
| Setting | Value |
|---|---|
| Image Control Effect | Positive Film |
| Saturation | +2 |
| Hue | +2 |
| High/Low Key | +2 |
| Contrast | +4 |
| Contrast (Highlight) | -4 |
| Contrast (Shadow) | 0 |
| Sharpness | +1 |
| Shading | 0 |
| Clarity | +1 |
| Grain | On |
| Grain Size/Intensity | 1 / 1 |
| Highlight Correction | On |
| Shadow Correction | High |
| Peripheral Illumination Correction | On |
| High-ISO Noise Reduction | Off |
| White Balance | Auto White Priority |
| WB Compensation | G:6 A:8 |
| ISO | up to ISO 6400 |
| Exposure Compensation | 0 to +2/3 (typically) |
Pushed B&W (GR IV)
For black and white street photography, this is the one to try first. Ritchie describes it as "a dramatic black-and-white look reminiscent of Kodak Tri-X 400 with a red filter that's been pushed two stops." Source: The Starter Collection.
| Setting | Value |
|---|---|
| Image Control Effect | Hi-Contrast B&W |
| High/Low Key | 0 |
| Contrast | -2 |
| Contrast (Highlight) | -2 |
| Contrast (Shadow) | +2 |
| Sharpness | +1 |
| Toning | Off |
| Filter Effect | 2 |
| Shading | 0 |
| Clarity | +1 |
| Grain | On |
| Grain Size/Intensity | 2 / 3 |
| Highlight Correction | On |
| Shadow Correction | Medium |
| Peripheral Illumination Correction | On |
| High-ISO Noise Reduction | Off |
| White Balance | Cloudy |
| WB Compensation | G:14 B:5 |
| ISO | up to ISO 6400 |
| Exposure Compensation | 0 to +1/3 (typically) |
Panchromatic 400 +Red (GR IV)
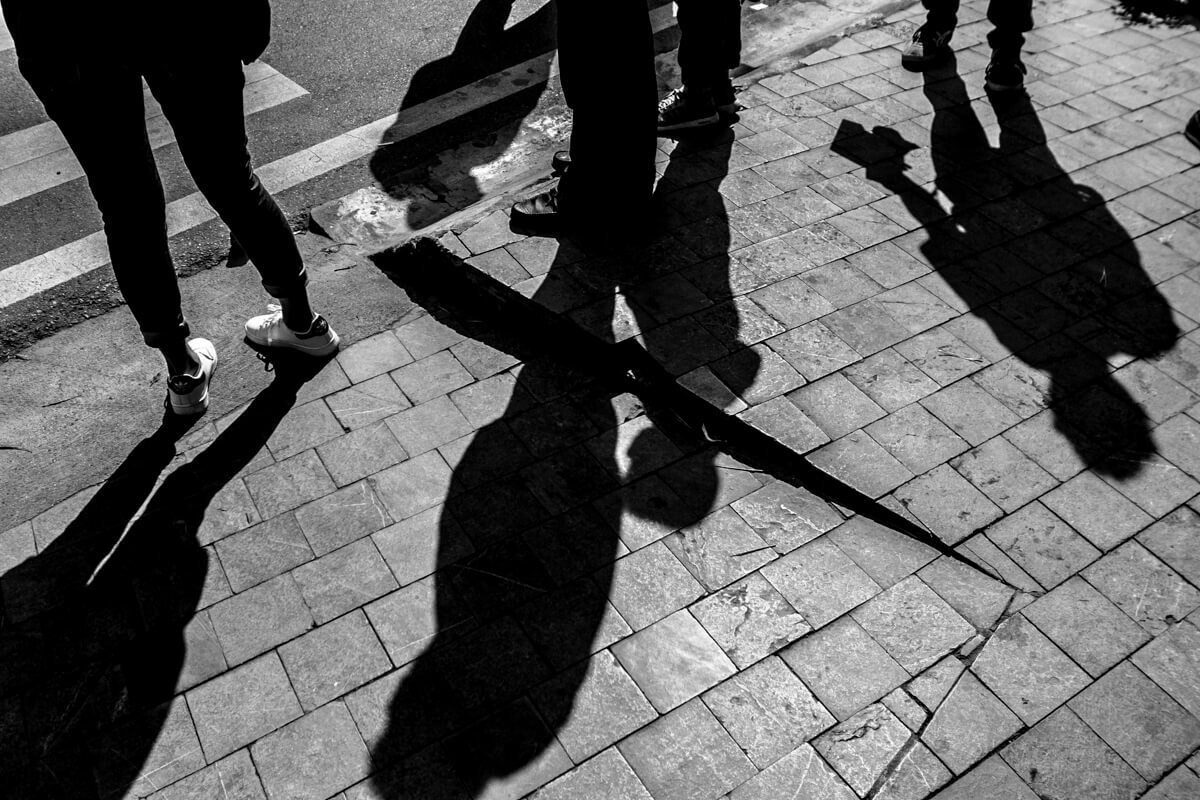
A softer black and white than Pushed B&W, built on Hard Monotone. Ritchie calls it a "generic black-and-white ISO 400 film look combined with a red filter." Source: The Starter Collection.
| Setting | Value |
|---|---|
| Image Control Effect | Hard Monotone |
| High/Low Key | +1 |
| Contrast | +1 |
| Contrast (Highlight) | -2 |
| Contrast (Shadow) | +4 |
| Sharpness | +1 |
| Toning | Off |
| Shading | 0 |
| Clarity | 0 |
| Grain | On |
| Grain Size/Intensity | 2 / 2 |
| Highlight Correction | On |
| Shadow Correction | Auto |
| Peripheral Illumination Correction | On |
| High-ISO Noise Reduction | Off |
| White Balance | CT 7000K |
| WB Compensation | M:2 B:10 |
| ISO | up to ISO 6400 |
| Exposure Compensation | 0 to +2/3 (typically) |
Kodak Chrome (GR III and GR IIIx)
From Ritchie's Street Collection, a set of GR III and GR IIIx recipes "for street and urban photography." He sums it up as a "classic Kodak slide film aesthetic." Source: The Street Collection on Ritchie's Ricoh Recipes.
| Setting | Value |
|---|---|
| Effect | Positive Film |
| Saturation | +3 |
| Hue | -1 |
| High/Low Key | -2 |
| Contrast | -2 |
| Contrast (Highlight) | +2 |
| Contrast (Shadow) | -4 |
| Sharpness | +1 |
| Shading | 0 |
| Clarity | +2 |
| Highlight Correction | On |
| Shadow Correction | Low |
| Peripheral Illumination Correction | On |
| High-ISO Noise Reduction | Off |
| White Balance | Daylight |
| WB Compensation | A:10 G:4 |
| ISO | up to ISO 6400 |
| Exposure Compensation | +1/3 to +1 (typically) |
Reggie's Color Negative (GR III and GR IIIx)
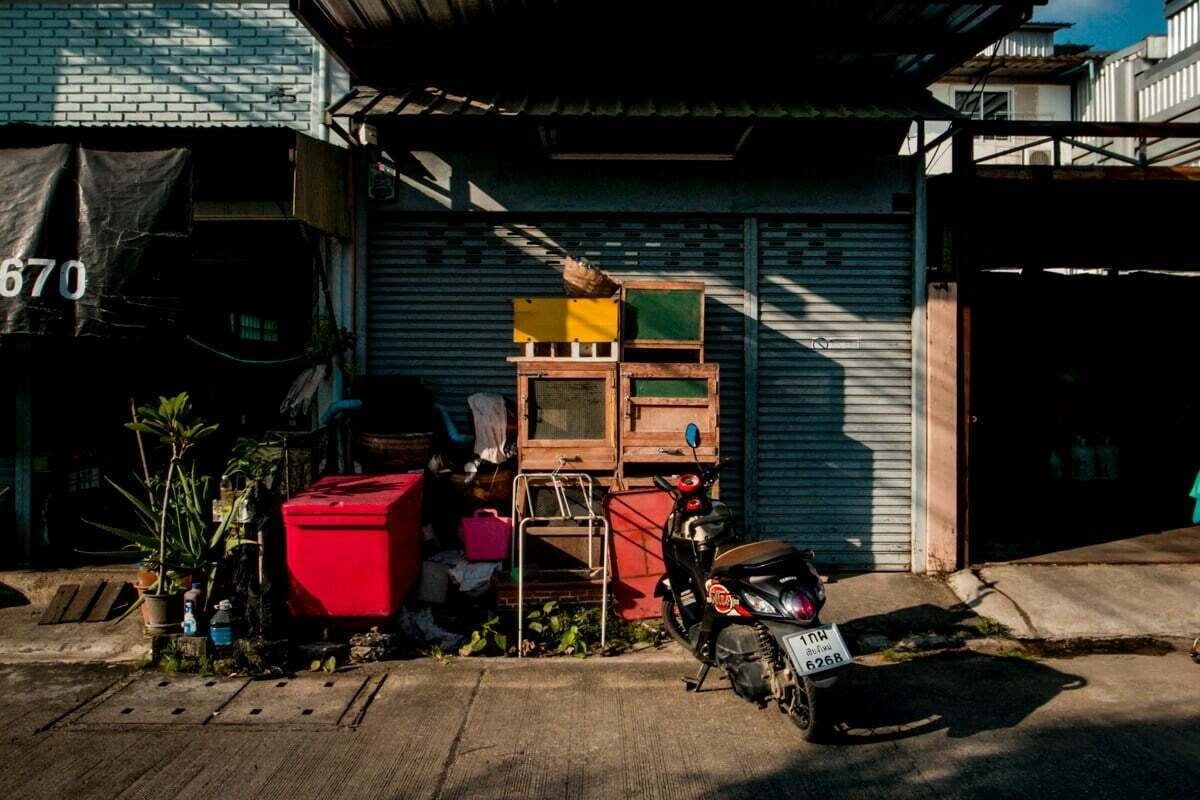
Reggie Ballesteros wrote that he built this recipe while trying to recreate his Fujifilm recipe Reggie's Portra on the GR III, and that it "evolved into its own unique look." He calls it a color film simulation recipe "that you can use for any situation." He notes that it needs the Negative Film Image Control, so it doesn't work on older GR cameras without it. Source: Reggie's Color Negative on Reggie Ballesteros Photography.
| Setting | Value |
|---|---|
| Film Simulation | Negative Film |
| Saturation | +2 |
| Hue | 0 |
| High/Low Key | 0 |
| Contrast | +3 |
| Contrast (Highlight) | -4 |
| Contrast (Shadow) | -1 |
| Sharpness | +1 |
| Clarity | 0 |
| Highlight Correction | Auto |
| Shadow Correction | Medium |
| High-ISO Noise Reduction | Off |
| White Balance | Auto |
| WB Compensation | A:6 G:0 |
Reggie's published recipe doesn't list an ISO or exposure compensation setting, so I haven't added one.
Are GR III recipes compatible with the GR IV?
Mostly, but they won't look the same. Ritchie Roesch wrote that most GR III recipes "technically will work on the GR IV, but they render differently," and how different depends on the Image Control and the light. He adds that some black and white recipes are less intuitive to set up because of settings like Filter Effect. He also has no recipes for the GR IV Monochrome, since he doesn't own one.
RicohCookBook, which lists recipes for the GR III, GR IIIx and GR IV, says the IV has a warmer, brighter baseline. My advice: if you shoot a GR IV, start with the Ricoh GR IV recipes made for it. If you shoot a GR III (GR3 to many owners) or GR IIIx, use the GR III recipes. Older GR and GR II cameras have fewer Image Control options, so check that the selected recipe's base effect exists on your camera. Treat the older ones as a starting point on the new camera, not a copy of the look.
How to set up a recipe on your GR
- Set the shooting mode you want, for example aperture priority or program.
- Open the Image Control menu and choose the base effect the recipe uses.
- Press the Fn button (or the adjust option on your model) to open the parameters, then enter every value in the recipe.
- Set white balance, WB compensation, ISO limit and the other settings.
- Save the setup to a user mode slot: U1, U2 or U3 on the mode dial. Your camera manual has the exact menu path for your model.
A simple street workflow is one color recipe on U1, one black and white on U2, and snap focus on both. Many people ask on the r/ricohGR_recipes subreddit whether two recipes can share one slot. Each slot holds one saved setup, so two recipes with different white balance settings need two slots. Ricoh confirms the three U1, U2 and U3 positions on its GR IV features page.
Hi-Contrast B&W and the Daido Moriyama look
You don't need a recipe for gritty black and white. The GR's own Hi-Contrast B&W Image Control is famous among street photographers for its heavy grain and deep blacks. Digital Camera World quotes the GR III manual describing it as a mode that mimics "a grainy feel" like "ultra-high-sensitivity film or push-processed film," and points out how closely it echoes the work of Daido Moriyama. Ricoh doesn't call it a Moriyama mode, but many GR shooters do.
One complaint I see on Reddit about black and white street photos: "most of your B&W edits are very flatly edited." Hi-Contrast B&W or the Pushed B&W recipe fixes that in camera. Just watch the highlights, because this look clips bright areas fast. For more, read my black and white photography guide.
A tip from Inspired Eye: Bleach Bypass
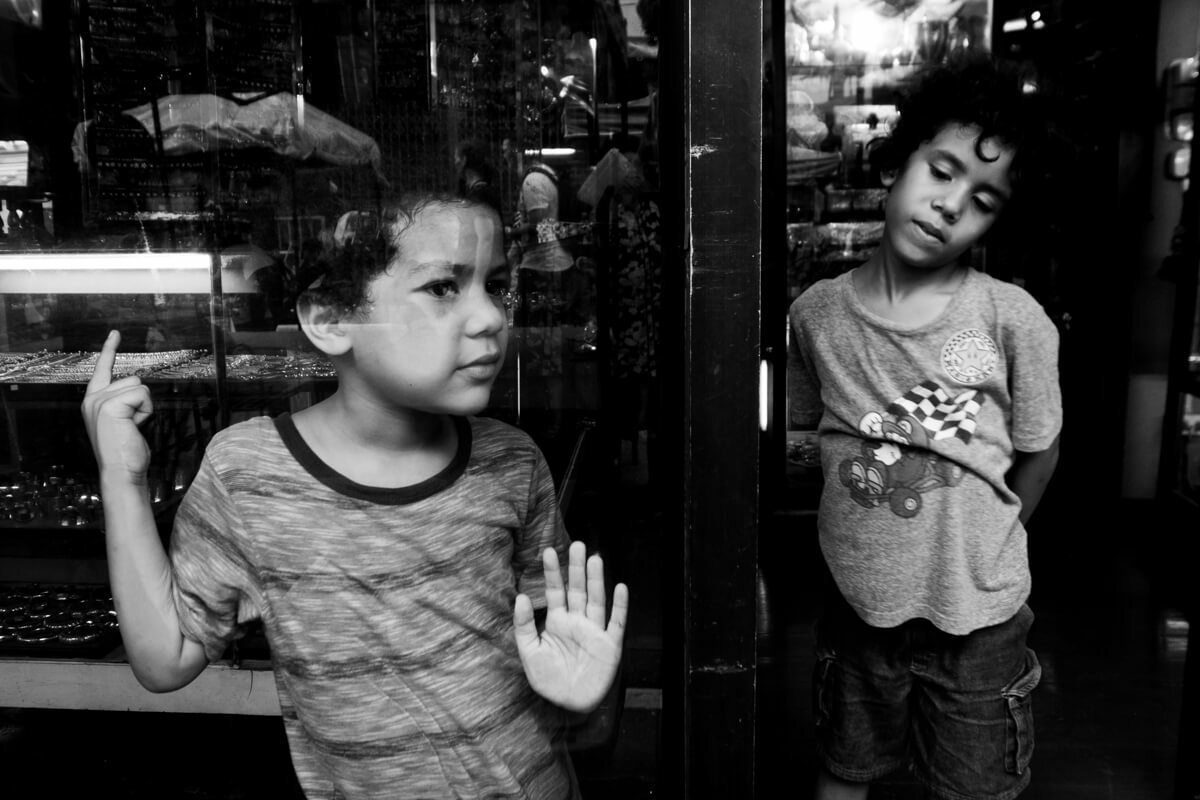
Years ago, a Ricoh GR photographer featured in Inspired Eye magazine had stunning color work from Cuba. I asked him what his secret was. He put the camera on the Bleach Bypass Image Control and pushed the saturation in Lightroom. That's it. It's not a published recipe with exact numbers, but it's a good reminder that a simple base plus a small edit can be enough. My guide to editing street photography covers the rest.
Recipes won't make the picture
I love the GR, and recipes are fun. They save editing time and make your photos look consistent. But a recipe is a finish, and a finish can't fix a photo with nothing in it. A dull photo in Kodak Chrome is still dull.
Pair your recipe with good habits. Use snap focus so you're ready when the moment comes, with the street photography settings I recommend. Then spend your energy on what's in the frame. That's the whole point of Phototactic, my street photography course with Don Springer: picture patterns, composition, emotion and priming the mind, taught in short videos that work with any camera. Still choosing a camera? See the best camera for street photography.
Frequently Asked Questions
What are the best Ricoh GR recipes for street photography?
Popular choices are Ritchie Roesch's Travelog and Pushed B&W for the GR IV, and his Kodak Chrome recipe or Reggie Ballesteros's Reggie's Color Negative for the GR III and GR IIIx. For gritty black and white, many street photographers simply use the built-in Hi-Contrast B&W Image Control. Check each creator's sample photos before choosing.
How many recipes can you save on a Ricoh GR IV?
The mode dial has three user mode positions, U1, U2 and U3, so you can keep three recipes ready to use. Each slot stores one full setup, including Image Control, white balance and shooting settings. To try other recipes, you enter the settings again or overwrite a slot. Check the GR IV manual for the exact save steps.
Do Ricoh GR III recipes work on the GR IV?
Most GR III recipes can be entered on the GR IV, but according to Ritchie Roesch they render differently, depending on the Image Control and the light. The GR IV also adds grain settings for color looks and new Cinema options. For the closest match to a creator's samples, use recipes made for your camera.
Where can I find more Ricoh GR recipes?
Ritchie's Ricoh Recipes (ricohrecipes.com) has free recipe collections for GR, GR II, GR III, GR IIIx and GR IV cameras, plus an app. Reggie Ballesteros publishes recipes on his blog and YouTube. The r/ricohGR_recipes subreddit is where users share their own, usually with sample photos.